

In this article, you will learn how to automate Pipedrive deal stage updates using Zapier.
What is Zapier?
Zapier is a tool which provides automation services between two or more apps. You must configure your CloudTalk integration through the Zapier interface. Once your accounts are linked, you can begin setting up automations using Zapier’s Zap feature.Import stage of a deal from Pipedrive into CloudTalk
Goal: Propagate custom data (the stage of a deal) from Pipedrive into Cloudtalk. Purpose: Assign client tags in CloudTalk to align client profile with information from Pipedrive. Generated tags can be used in call campaigns.- As a trigger in the Zap editor, select Pipedrive from the list of apps.
-
For Trigger Event, select Updated Deal Stage. This trigger will be set off any time a Deal Stage is updated in the Pipedrive app.
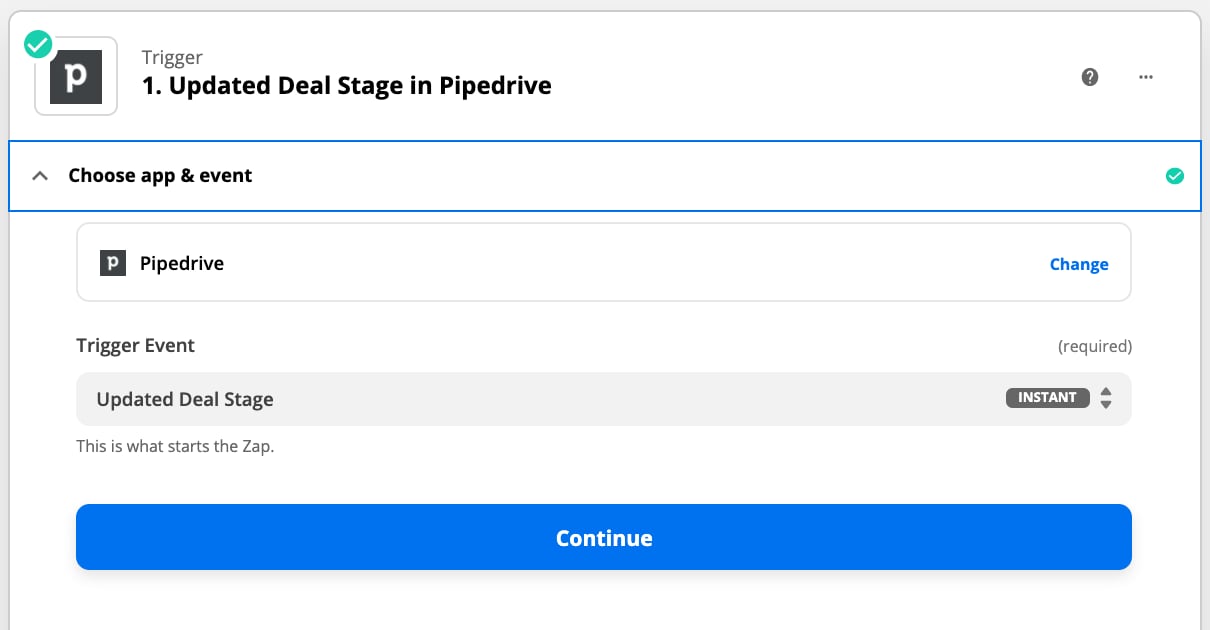
- You will be prompted to connect your Pipedrive account before continuing.
-
Under Set up trigger, you will need to choose a Stage in Pipeline, which will be Lead In (Pipeline).
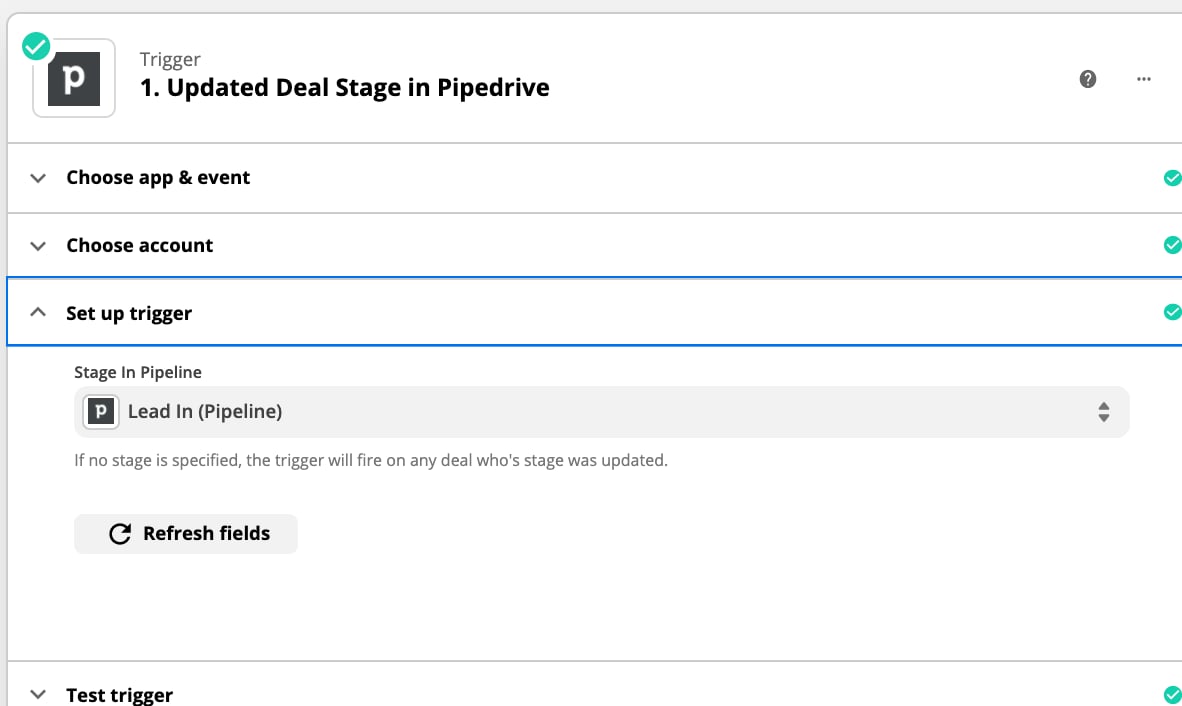
- Running the Test trigger step is usually recommended, but it requires there to be at least one real instance where the trigger occurs, as sample data.
- For the next step, Set up action, our goal is to set up the action which will detonate every time an Updated Deal Stage occurs in Pipedrive.
-
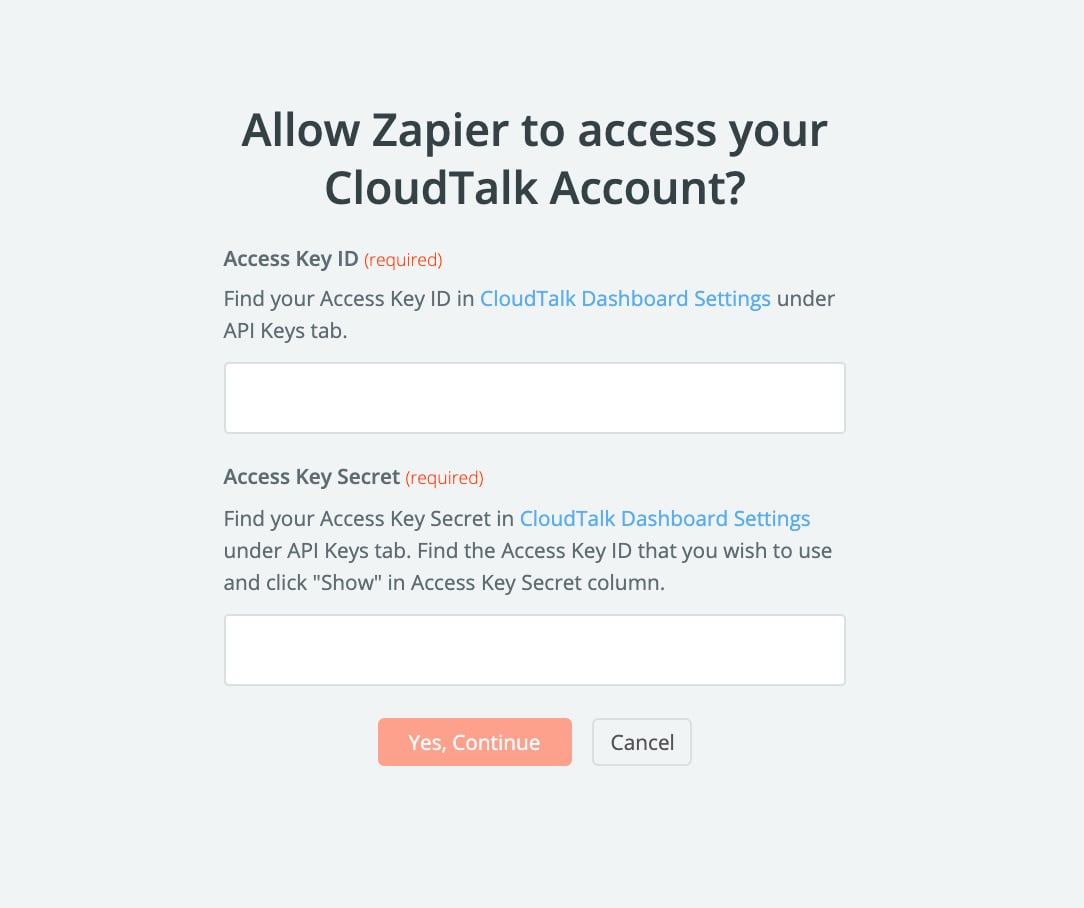
For the Choose account prompt, you will need to link your CloudTalk account if you haven’t done so already. Select +Add new account and use the API keys generated from the CloudTalk dashboard via Settings > API Keys as your login Access Key ID and Access Key Secret.
-
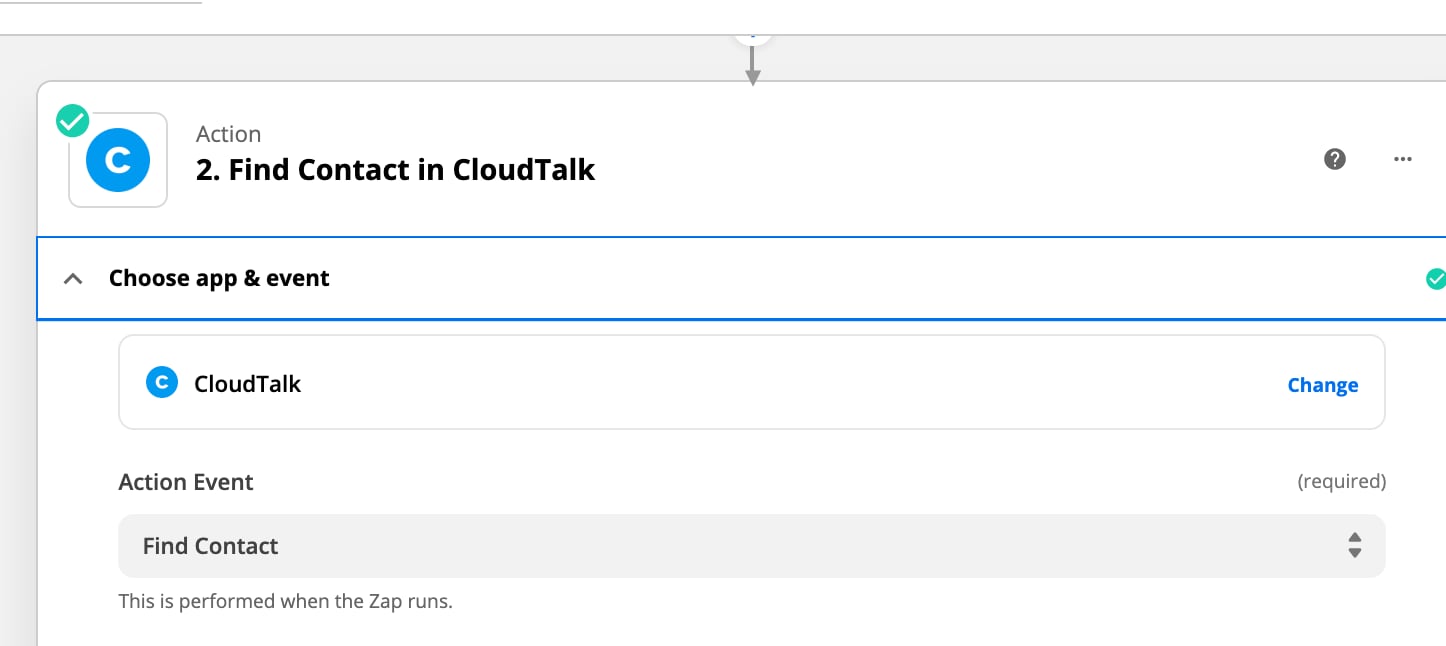
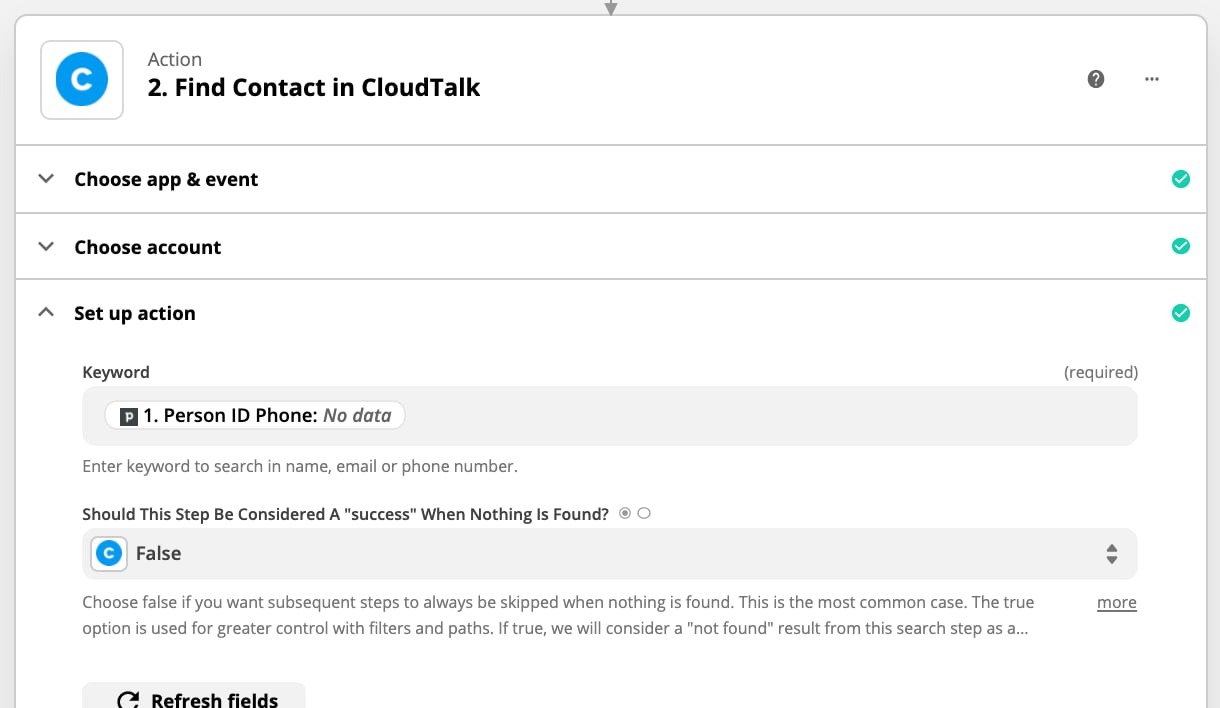
As an Action Event, we will choose Find Contact.
-
Define a Keyword in the Set up action section**.** Click into the box to see a dropdown list of dynamic values derived from the trigger step**.** Decide whether to choose a phone number or email to be the Keyword which the algorithm will search for.
-
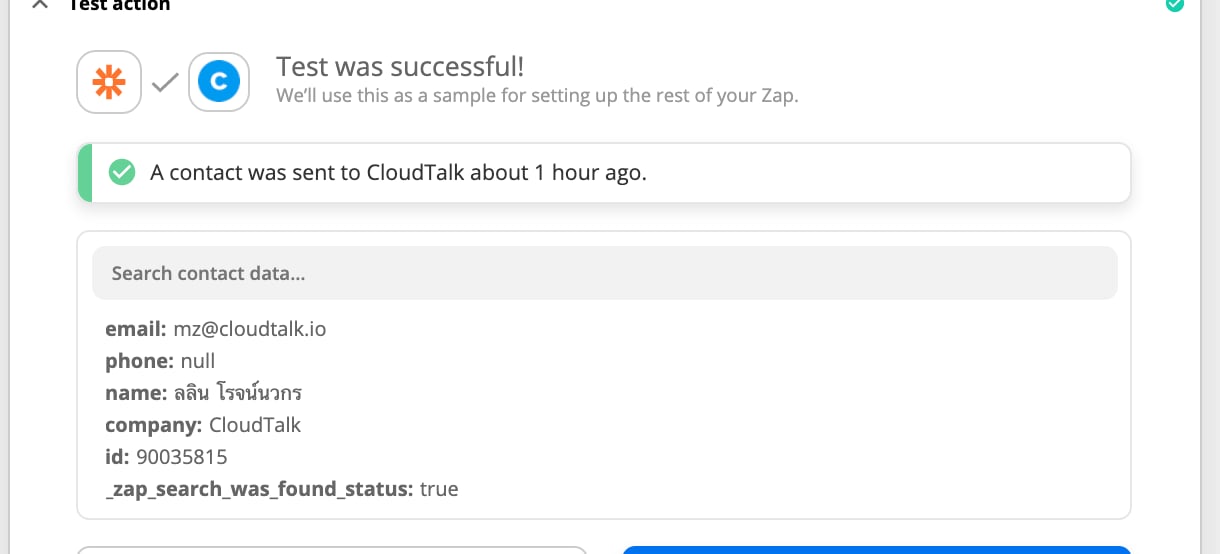
It is recommended to test this step. If the Find Contact action is working correctly, the test should return customer data currently present within the associated CloudTalk account.
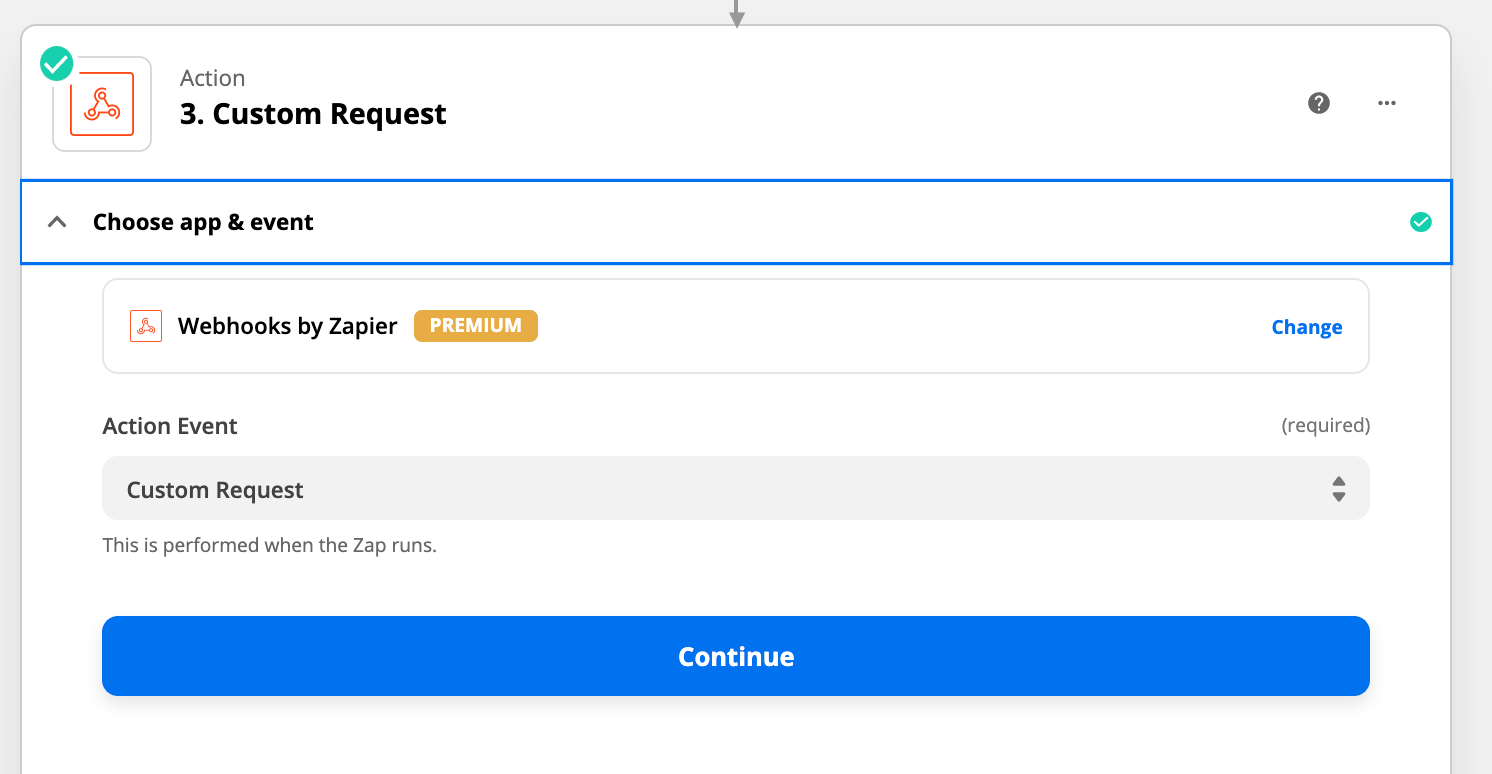
- Now we must make another action step. This action will require us to choose Webhooks by Zapier (premium) as the app.
-
Select Custom Request as the Action Event.
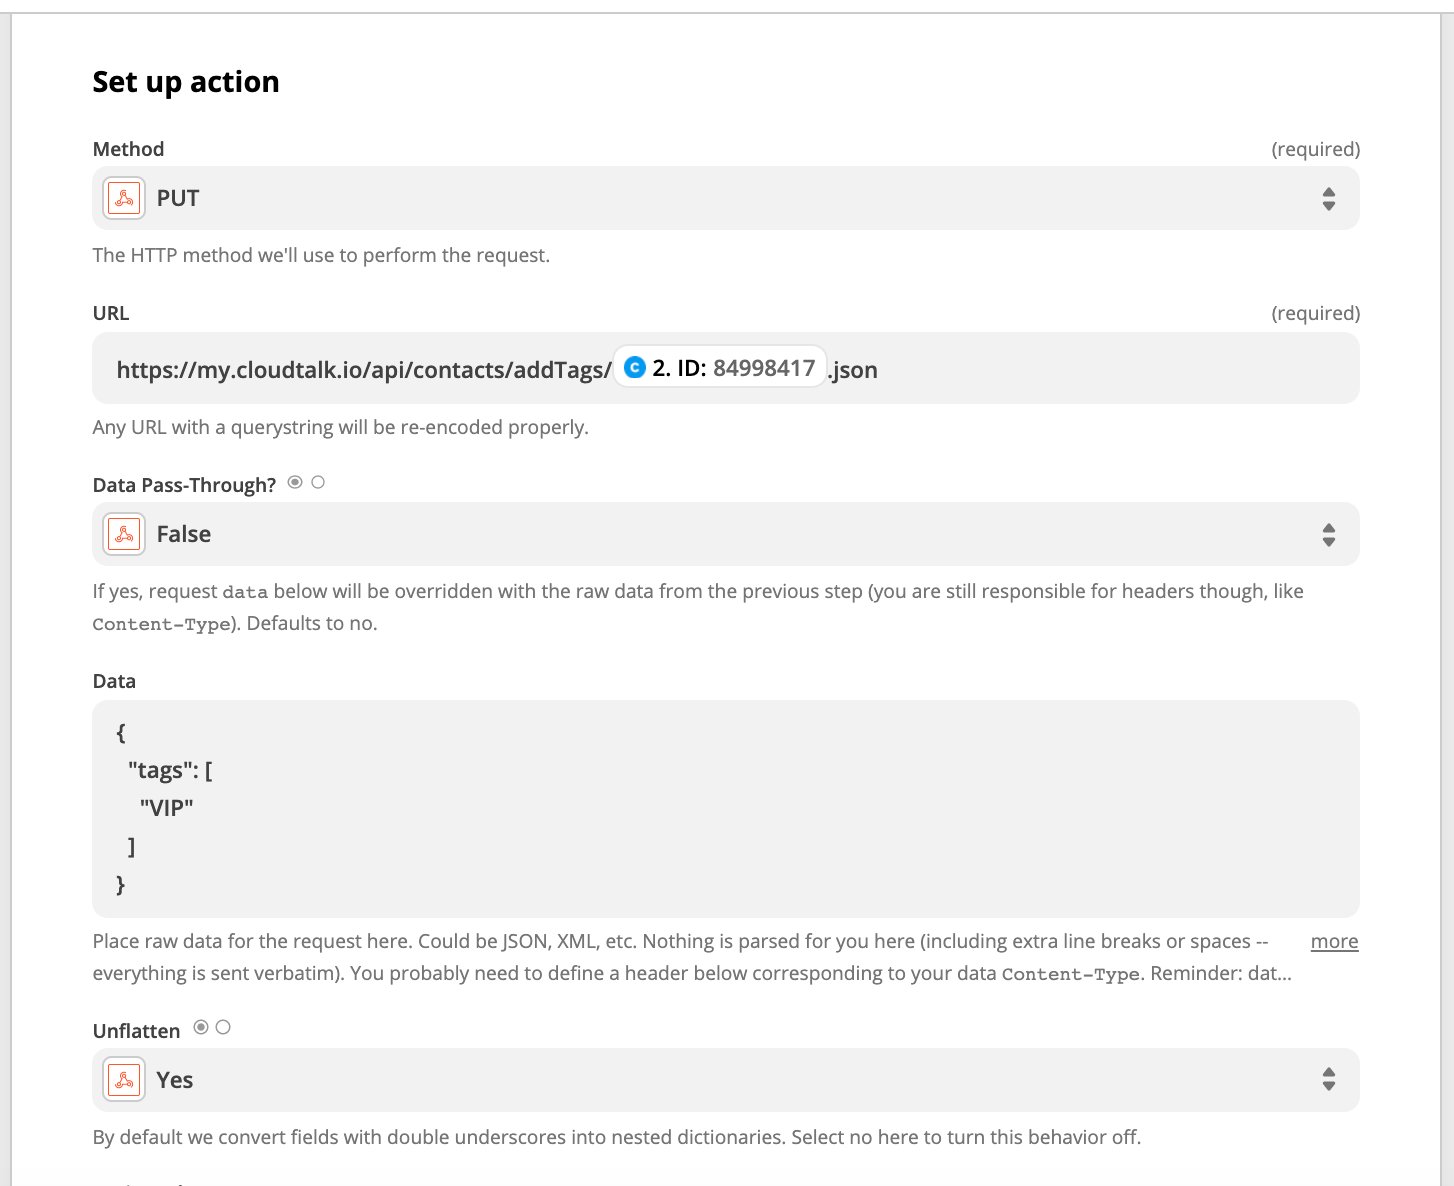
- The Method will be PUT. This type of API method is used mostly in instances where we want to insert new data into a database, replacing old data if the data parameters already exist. In our example, we are using this method to either “put” a new deal stage into a client’s profile, or update a deal stage which already exists for that client.
- Under URL, we will enter the URL contact id retrieved in our Find Contact action. This sets the destination of the requested action to the desired client within each iteration of the Zap.
- Leave the Data Pass-Through? default set to False, as this option is not relevant to our task.
-
In the Data box, you can paste in the data structure below, replacing the quoted text “Lead” with the word or phrase you would like the CloudTalk tag alligned to your Pipedrive deal status to be called:
-
The Unflatten default Yes can be left as is.
-
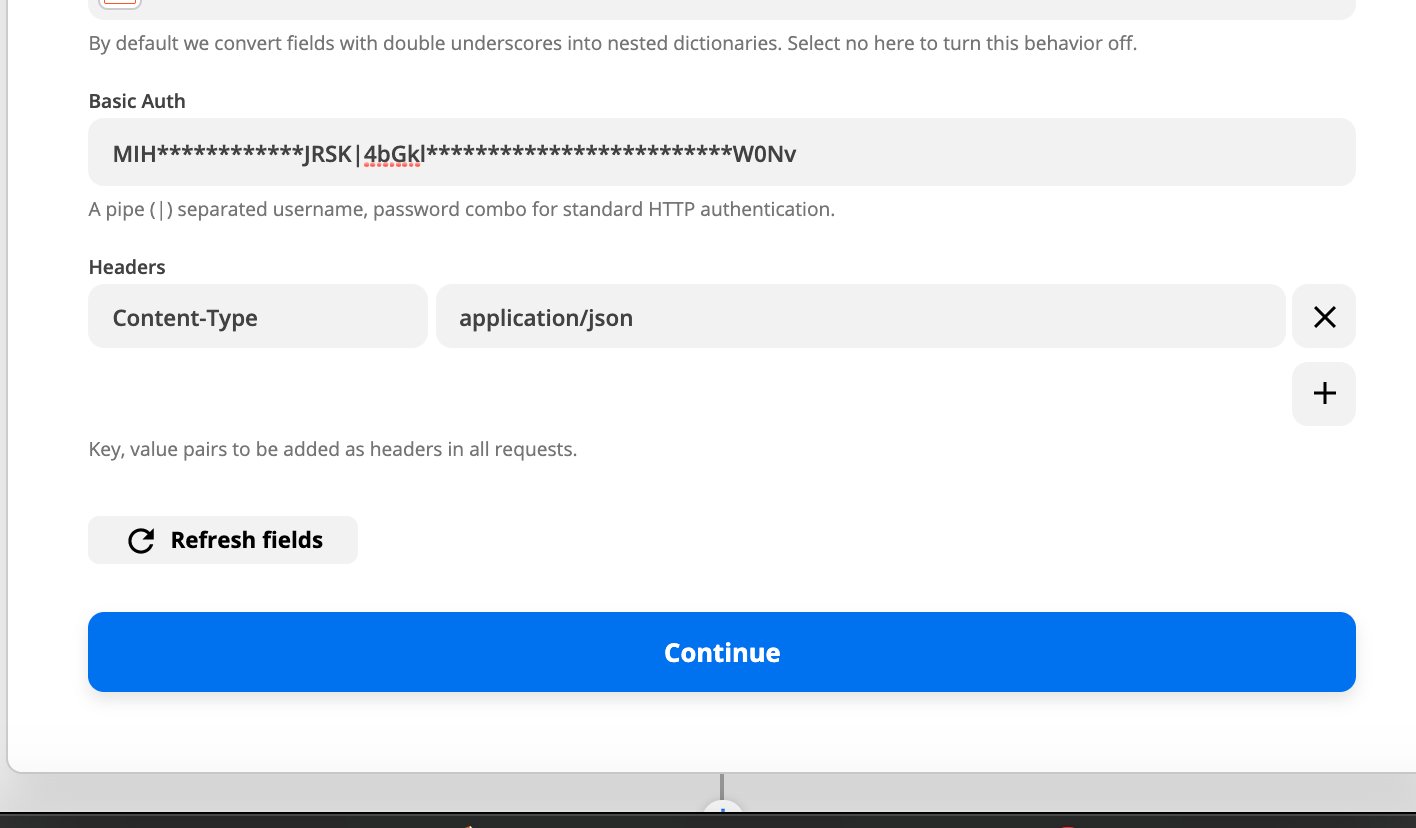
Authorization is once again required in the Basic Auth box, which asks for “A pipe ( | ) separated username, password combo.” This
username | passwordshould be the same CloudTalkAPI KEY | API KEY SECRETpreviously retrieved from Dashboard Settings > API Keys. -
Finally, we need at least one entry for Headers, which will have the key Content-Type and the value application/json. Click Continue and test the action**.** Zapier should notify if the test was successful, and once the Zap is activated, you will be able to access the new tag within your CloudTalk profile.
Need help or have a question? Just reach out through our Support portal — we’re here for you.