

In this article, you’ll find an introduction to accessing Workflow Automations, along with a breakdown of workflow steps, including triggers, conditions, and actions.
Locating Workflow Automations in CloudTalk
To access your Workflow Automations, navigate to Settings > Workflow Automations. Workflow Automation comes in handy especially if you wish to automate unnecessary manual tasks, both inside of CloudTalk and within different tools.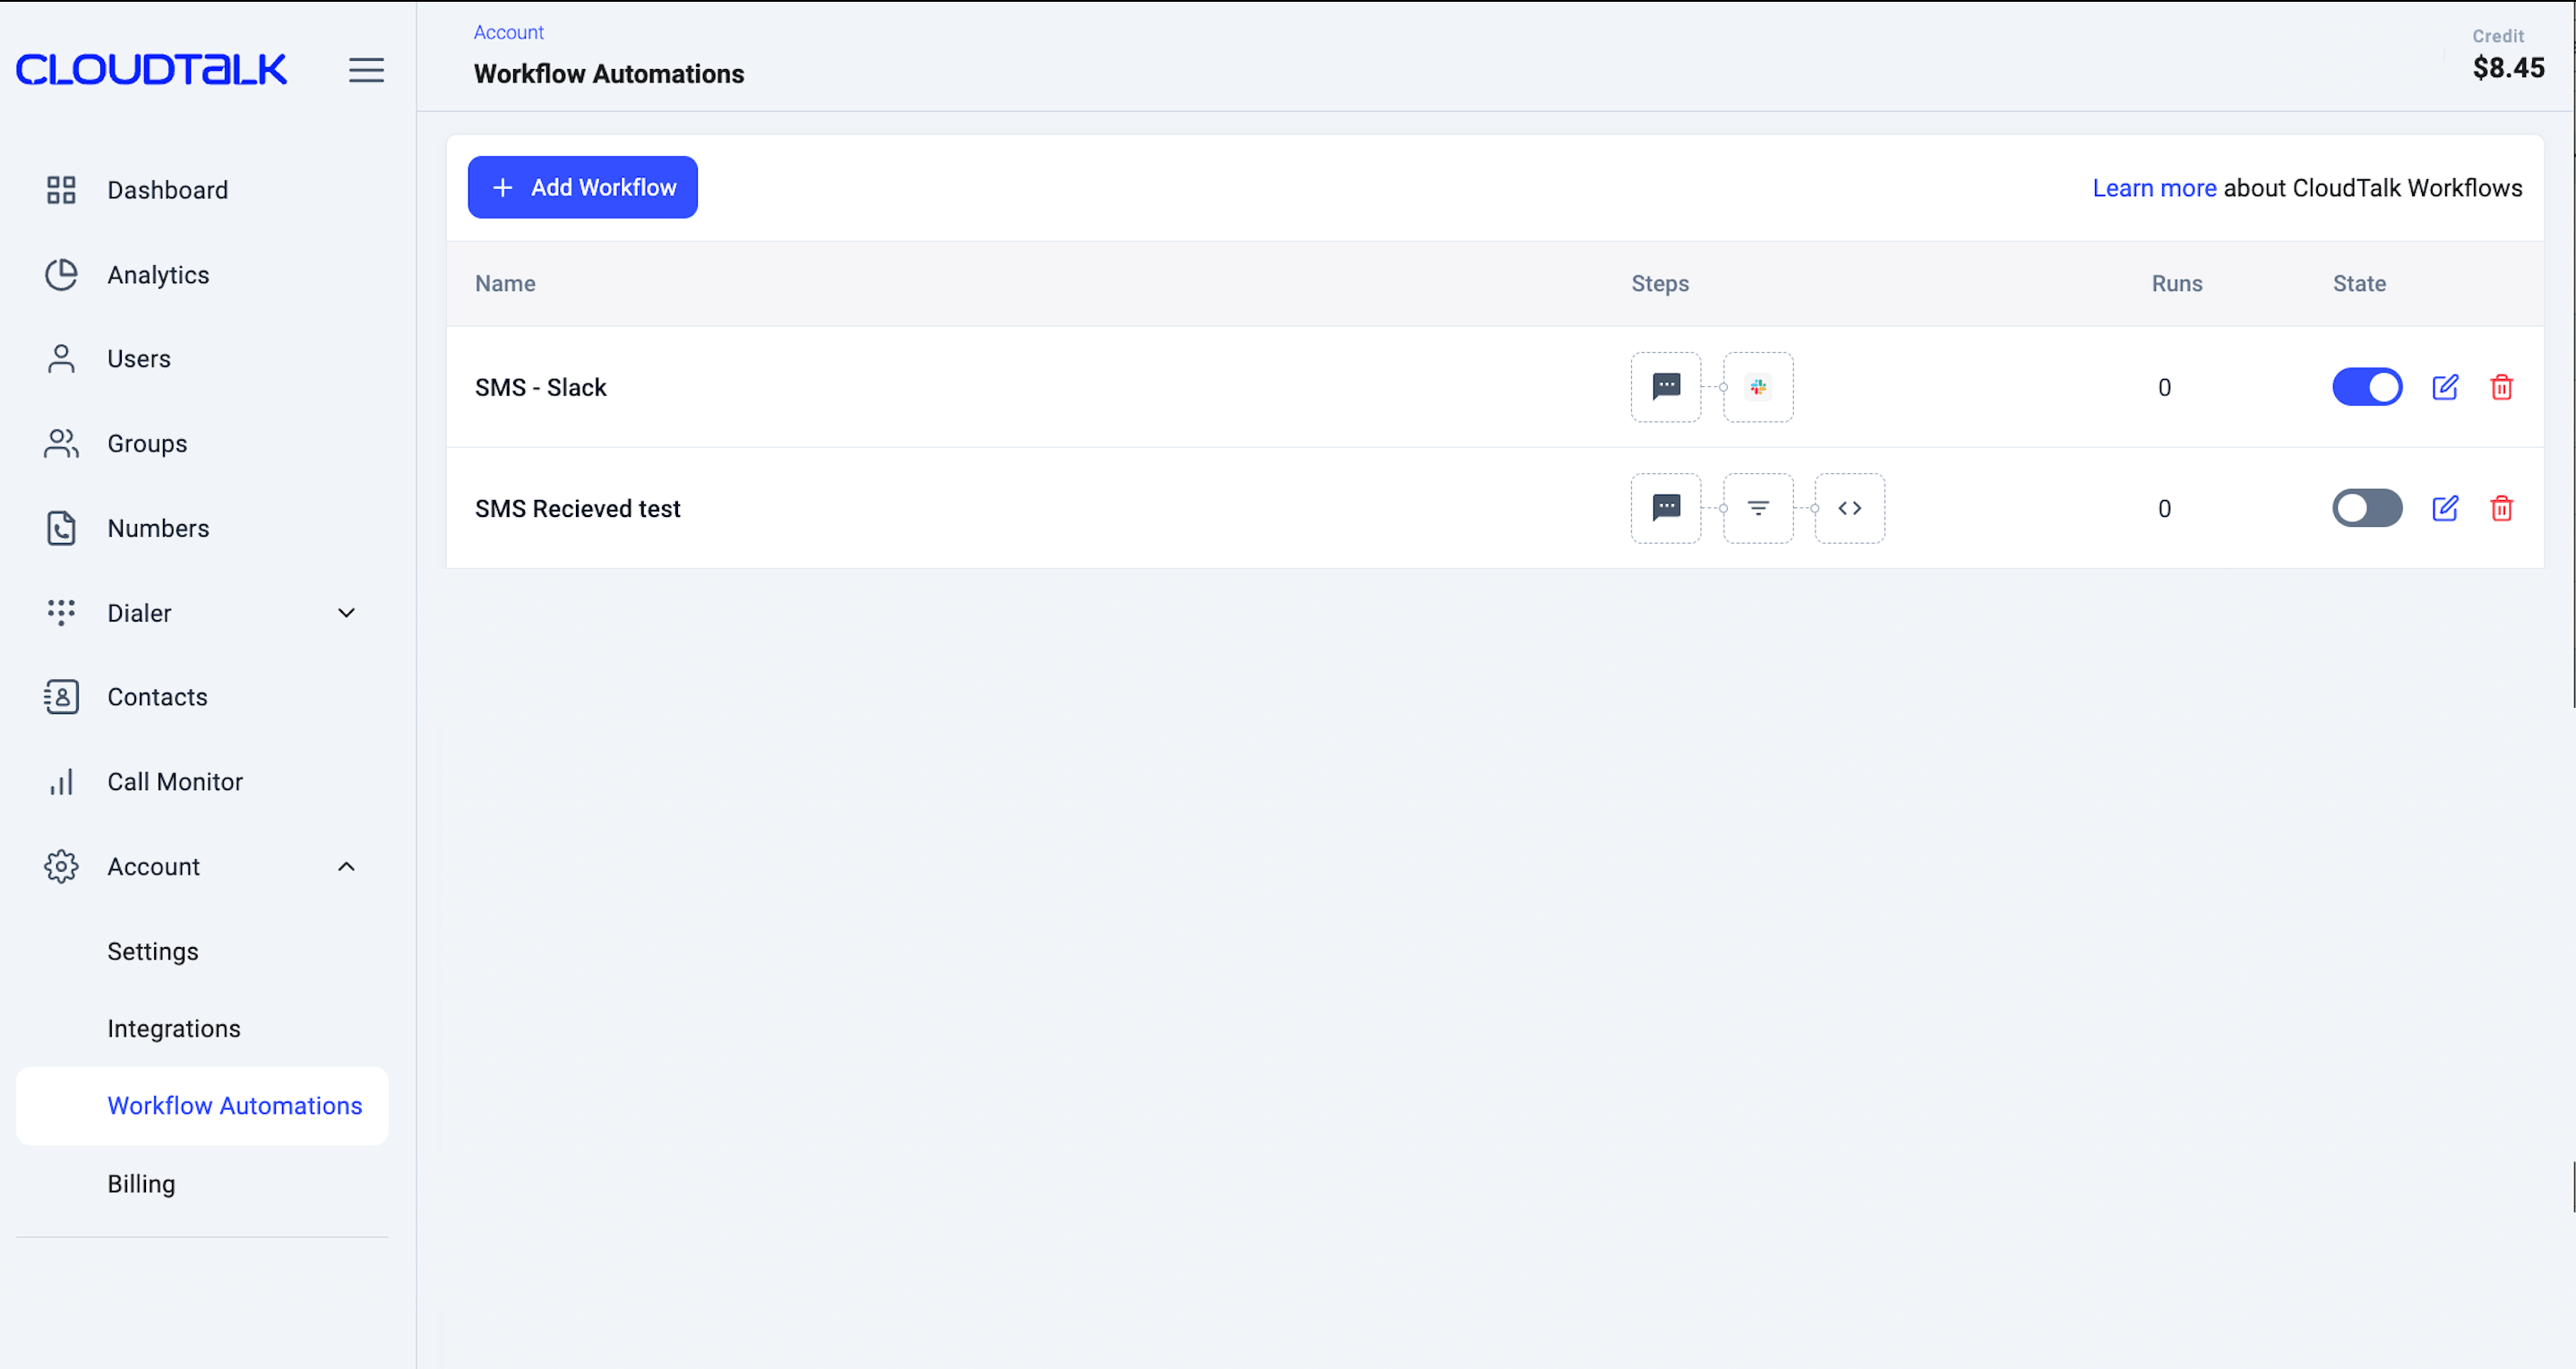
Steps in Workflow automation
Within each workflow automation, you can configure various steps to achieve the desired automation behavior. Workflow automation provides three types of steps that can be configured within the workflow:- Trigger
- Condition
- Action
Trigger
A Trigger step allows you to define the event that initiates your workflow. Triggering actions include all relevant data about the associated objects, enabling you to use this information within your workflows. CloudTalk’s workflow automation currently supports triggers for the following objects:- Call
- Message
- Contact
- User
- Recording
- Transcription
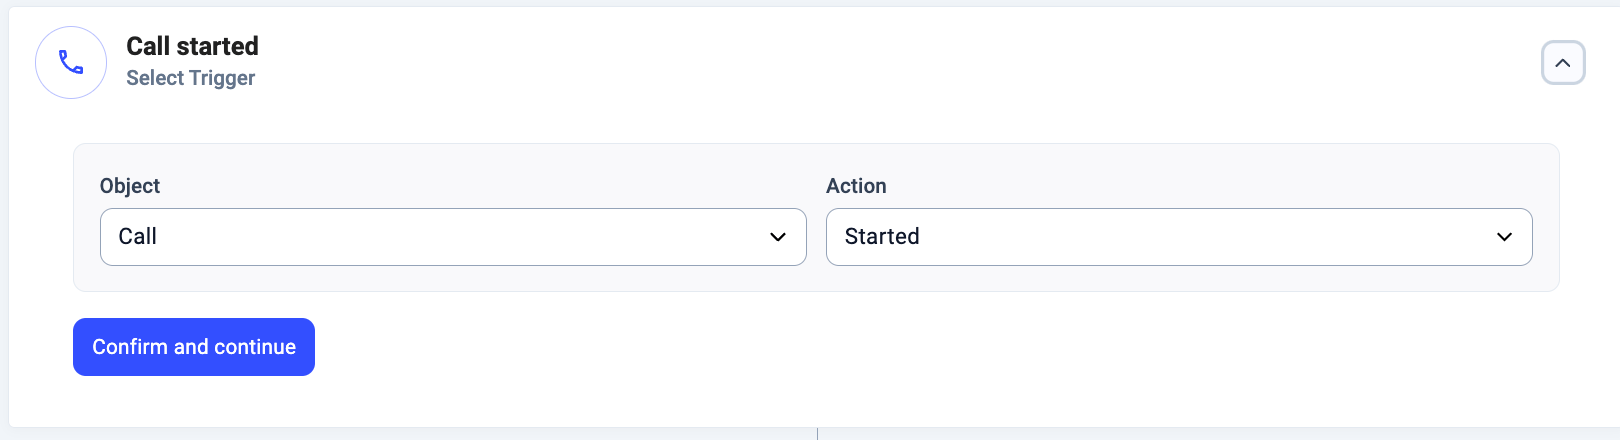
For more information about triggers, their usage, and the associated data, refer to our Triggers article.
Condition
A Condition step acts as a filter in your workflow. It ensures that only the runs meeting specific criteria—like call duration, message content, or contact details—proceed further. Steps after the Condition are executed only if the criteria are met, while steps before the Condition remain unaffected. This allows you to control the flow and handle only the situations that matter. Adding a Condition step is entirely optional. You can add multiple conditions within a single step to create more advanced filters. For the automation to proceed, all conditions in that step must be met.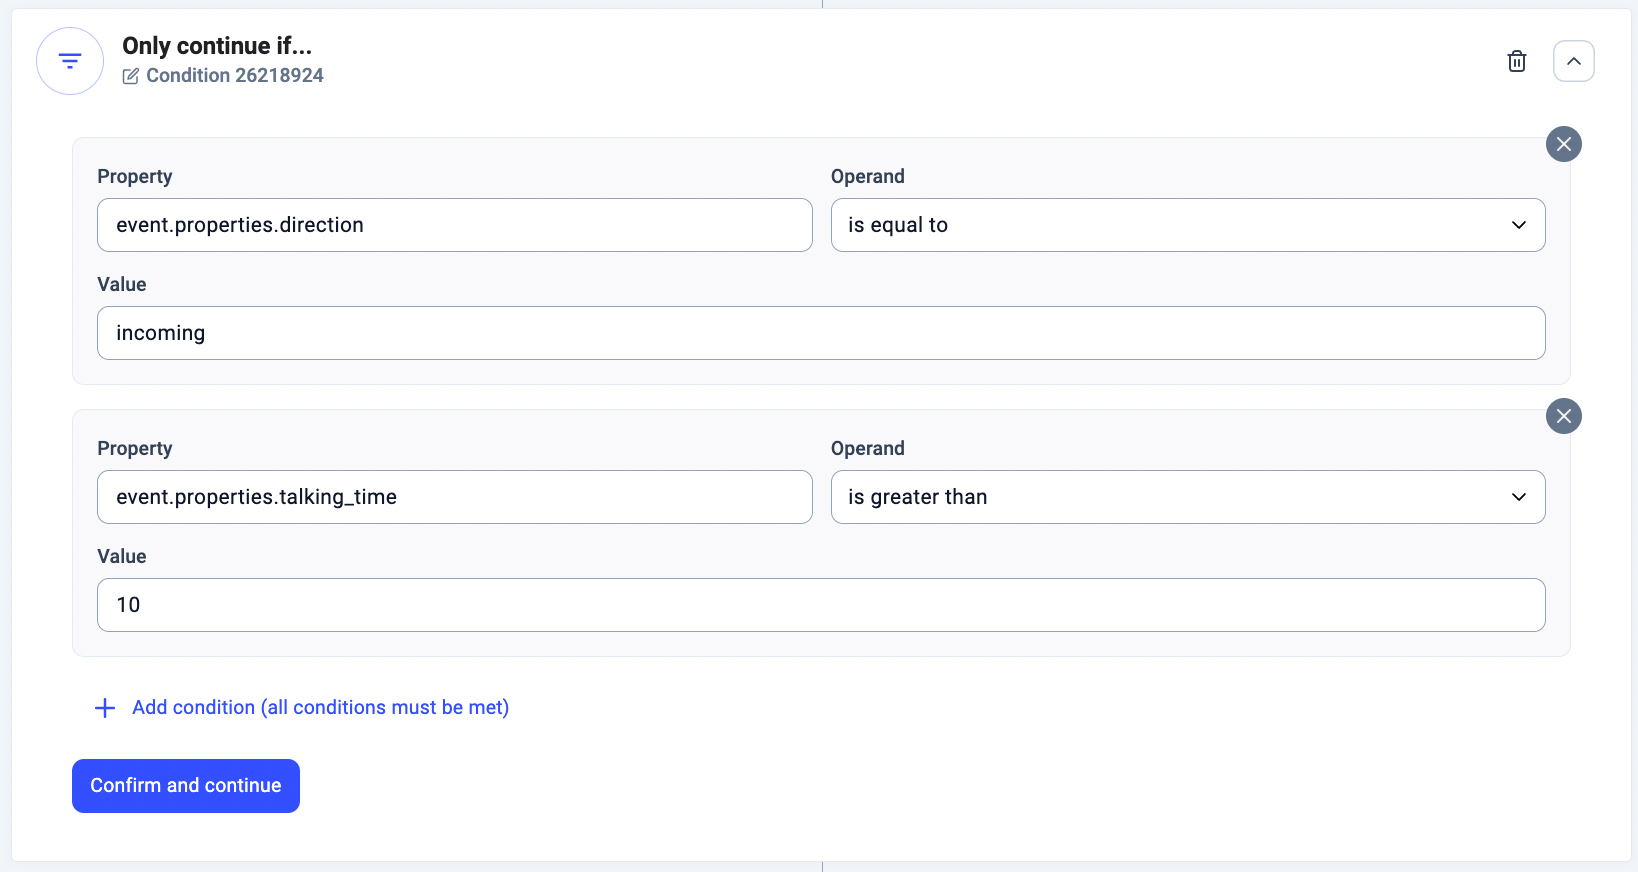
💡 If you’re looking for more detailed information on Conditions in Workflows, check out our dedicated article here.
Action
In Workflow Automation, an Action step is where a specific task is carried out automatically. Once the conditions before this step are met, the action is triggered. It’s where the system performs actions based on your configuration.
- API Request
- SMS
- Speech to Text (only visible when the Recording trigger is used)
- Send notification to Slack
For full syntax examples, usage tips, and important notes about renaming Action nodes, check out the dedicated guide here.
Renaming Action and Condition Nodes
For better clarity and easier recognition in complex workflows, you can rename your Action and Condition steps from their default identifiers to something more descriptive (e.g.,SendToCRM, NotifyTeam).
To rename step:
- Select the Action or Condition step you want to rename.
-
Click
the edit iconlocated in the top-left corner of step configuration card, just below the step title. - Enter your desired Action identifier to replace the default one.
-
Click
Confirmto save the new identifier.
Using multiple Conditions and Actions in a single Workflow
Your Workflow can include an unlimited number of consecutive Conditions and Actions. For example, you might want to set up the following automation:- For all calls from a client tagged as ‘VIP’, you want to send a Slack notification to a general channel to keep all agents aware.
- For inbound calls from these a clients you want to send a Slack notification to priority support channel.
- Trigger: Call started
- First Condition: Contact tags contain “VIP”
- First Action: Send a Slack notification to general channel
- Second Condition: Call direction is “incoming”
- Second Action: Send a Slack notification to priority support channel
- Automated follow-up SMS
- Automated Welcome SMS
- Forward incoming SMS to Slack
- Perform Salesforce actions
- Exporting Speech to Text transcription to external tools
- Exporting Speech to Text transcription to Slack
- Exporting Voicemail transcripts
Need help or have a question? Just reach out through our Support portal — we’re here for you.