> ## Documentation Index
> Fetch the complete documentation index at: https://help.cloudtalk.io/llms.txt
> Use this file to discover all available pages before exploring further.
# Salesforce-acties
> Voer workflowacties uit die zijn verbonden met de Salesforce-API.
Hier vindt u een basishandleiding voor het instellen van Salesforce-API-acties binnen workflowautomatiseringen.
**Gebruikersniveau**: Admin
***
Salesforce-workflowacties
Autorisatie via OAuth
CloudTalk ondersteunt de bearer-tokenauthenticatie die nodig is voor Salesforce-API-verzoeken. De OAuth-autorisatie die is ingesteld bij uw eerste integratie-instantie met Salesforce, wordt gebruikt voor alle workflowautomatiseringen waarbij Salesforce betrokken is. Daarom raden wij aan om slechts **één integratie-instantie met Salesforce** te gebruiken als u van plan bent Salesforce-API-acties in te zetten.
Voor workflows
1. **U hoeft bij nieuwe configuraties geen sleutels of auth-headers op te nemen**. U hebt alleen uw endpoint, query strings en request body nodig.
2. **U moet workflows beperken tot één Salesforce-integratie.** Alleen automatiseringen van de meest recent aangemaakte integratie-instantie worden uitgevoerd.
3. **Controleer bij zelfgebouwde API-verzoeken de benodigde scopes**. Omdat de autorisatiemethode dezelfde is als bij het opzetten van de integratie, zijn de scopes gelijk aan de scopes van uw Salesforce-integratie. Controleer of de doelentiteit die uw verzoek probeert te benaderen binnen deze scopes valt.
Workflow-automatisering instellen
1. Om via het [dashboard](https://dashboard.cloudtalk.io/) een nieuwe workflow in te stellen, gaat u naar **Account >** **Workflowautomatiseringen**.
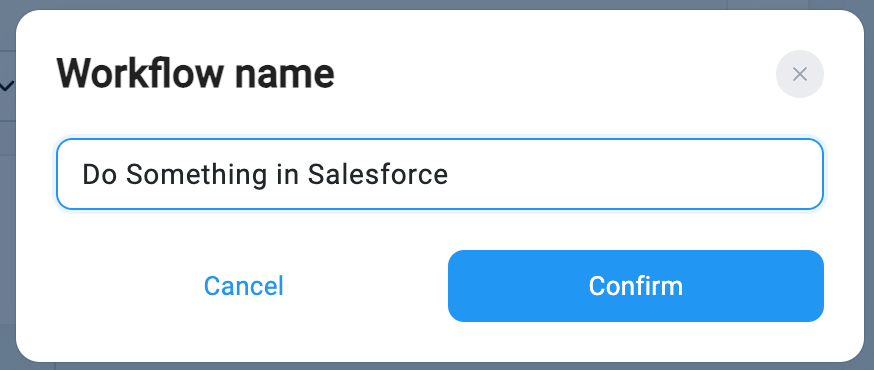
2. Selecteer **`+ Workflow toevoegen`** en geef uw workflow een naam. **`Bevestigen`**.
 3. Definieer een [trigger](/nl/articles/5648924-triggers) **Object** en **Actie**.
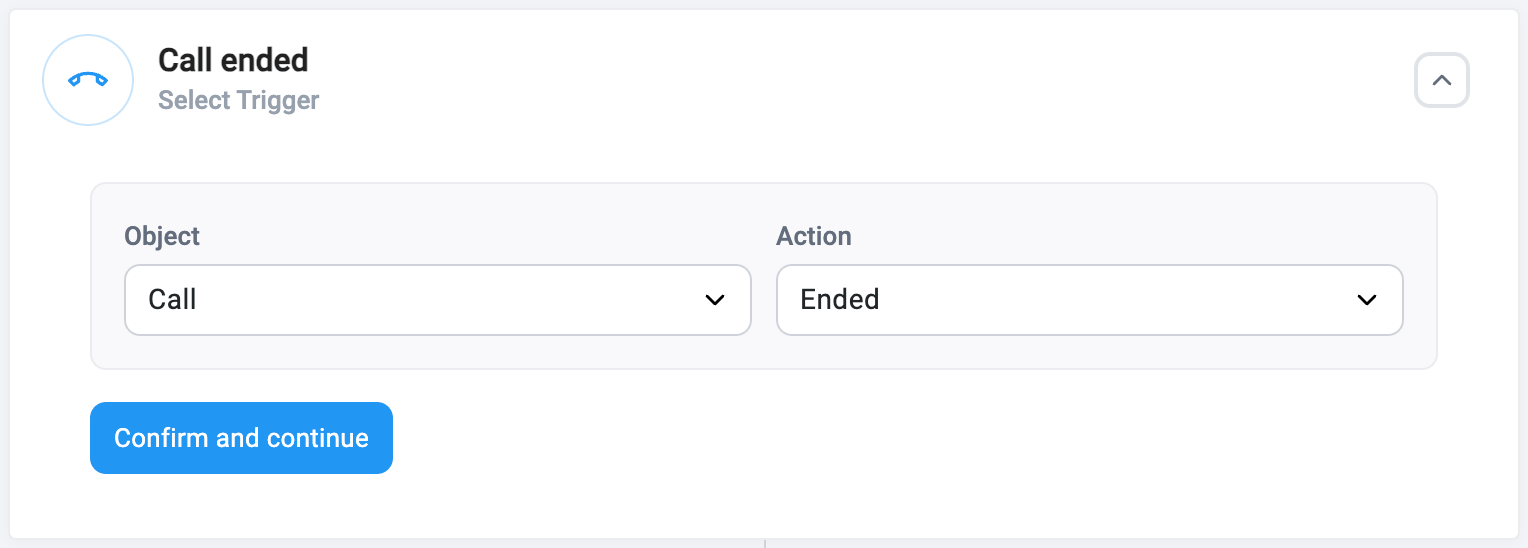 *Voorbeeld van een trigger*
1. **Optioneel:** stel een [conditie](/nl/articles/5649346-conditions) in zodat uw automatisering alleen wordt geactiveerd voor oproepen die aan uw criteria voldoen. Wilt u uw trigger op alle oproepen toepassen, verwijder dan de conditiestap.
4. Selecteer voor uw **[Actie](/nl/articles/5649782-actions)** de optie `API-verzoek`. Volg de Salesforce [Actions Developer Guide](https://developer.salesforce.com/docs/atlas.en-us.api_action.meta/api_action/actions_intro_overview.htm) en de secties over *Action Objects* om de waarden en de methode te vinden die u in uw API-verzoek moet invullen.
*Voorbeeld van een trigger*
1. **Optioneel:** stel een [conditie](/nl/articles/5649346-conditions) in zodat uw automatisering alleen wordt geactiveerd voor oproepen die aan uw criteria voldoen. Wilt u uw trigger op alle oproepen toepassen, verwijder dan de conditiestap.
4. Selecteer voor uw **[Actie](/nl/articles/5649782-actions)** de optie `API-verzoek`. Volg de Salesforce [Actions Developer Guide](https://developer.salesforce.com/docs/atlas.en-us.api_action.meta/api_action/actions_intro_overview.htm) en de secties over *Action Objects* om de waarden en de methode te vinden die u in uw API-verzoek moet invullen.
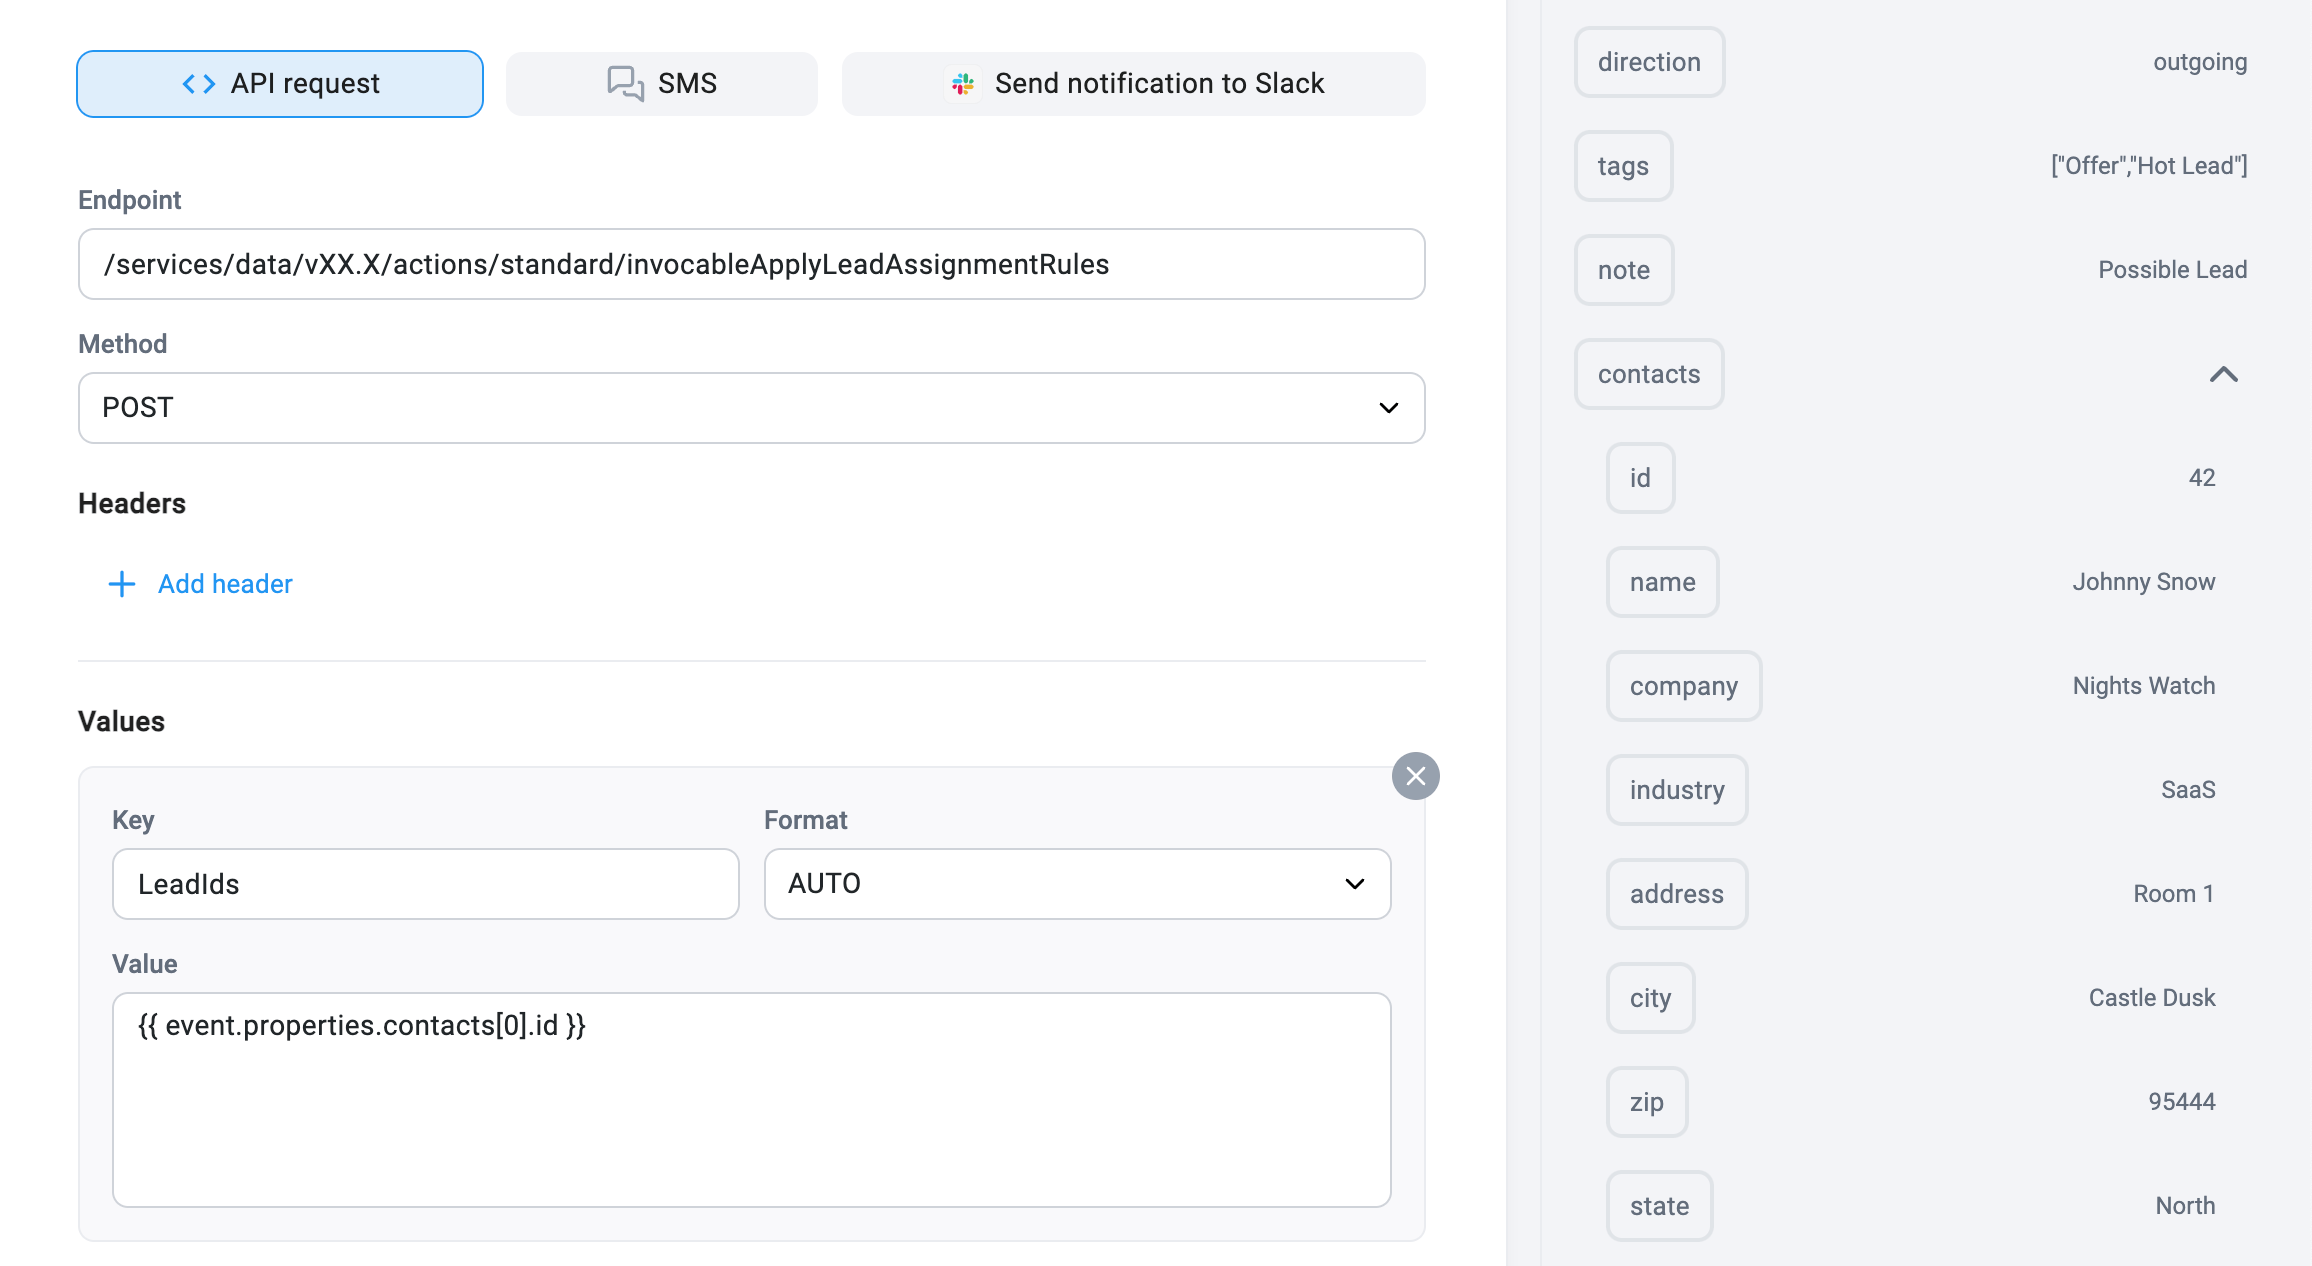 *API-configuratie met een dynamische waarde, uitsluitend als voorbeeld*
1. Gebruik de juiste tabel om dynamische waarden in te voeren. Klik in een veld en selecteer de gewenste waarde.
5. **`Bevestigen en doorgaan`**.
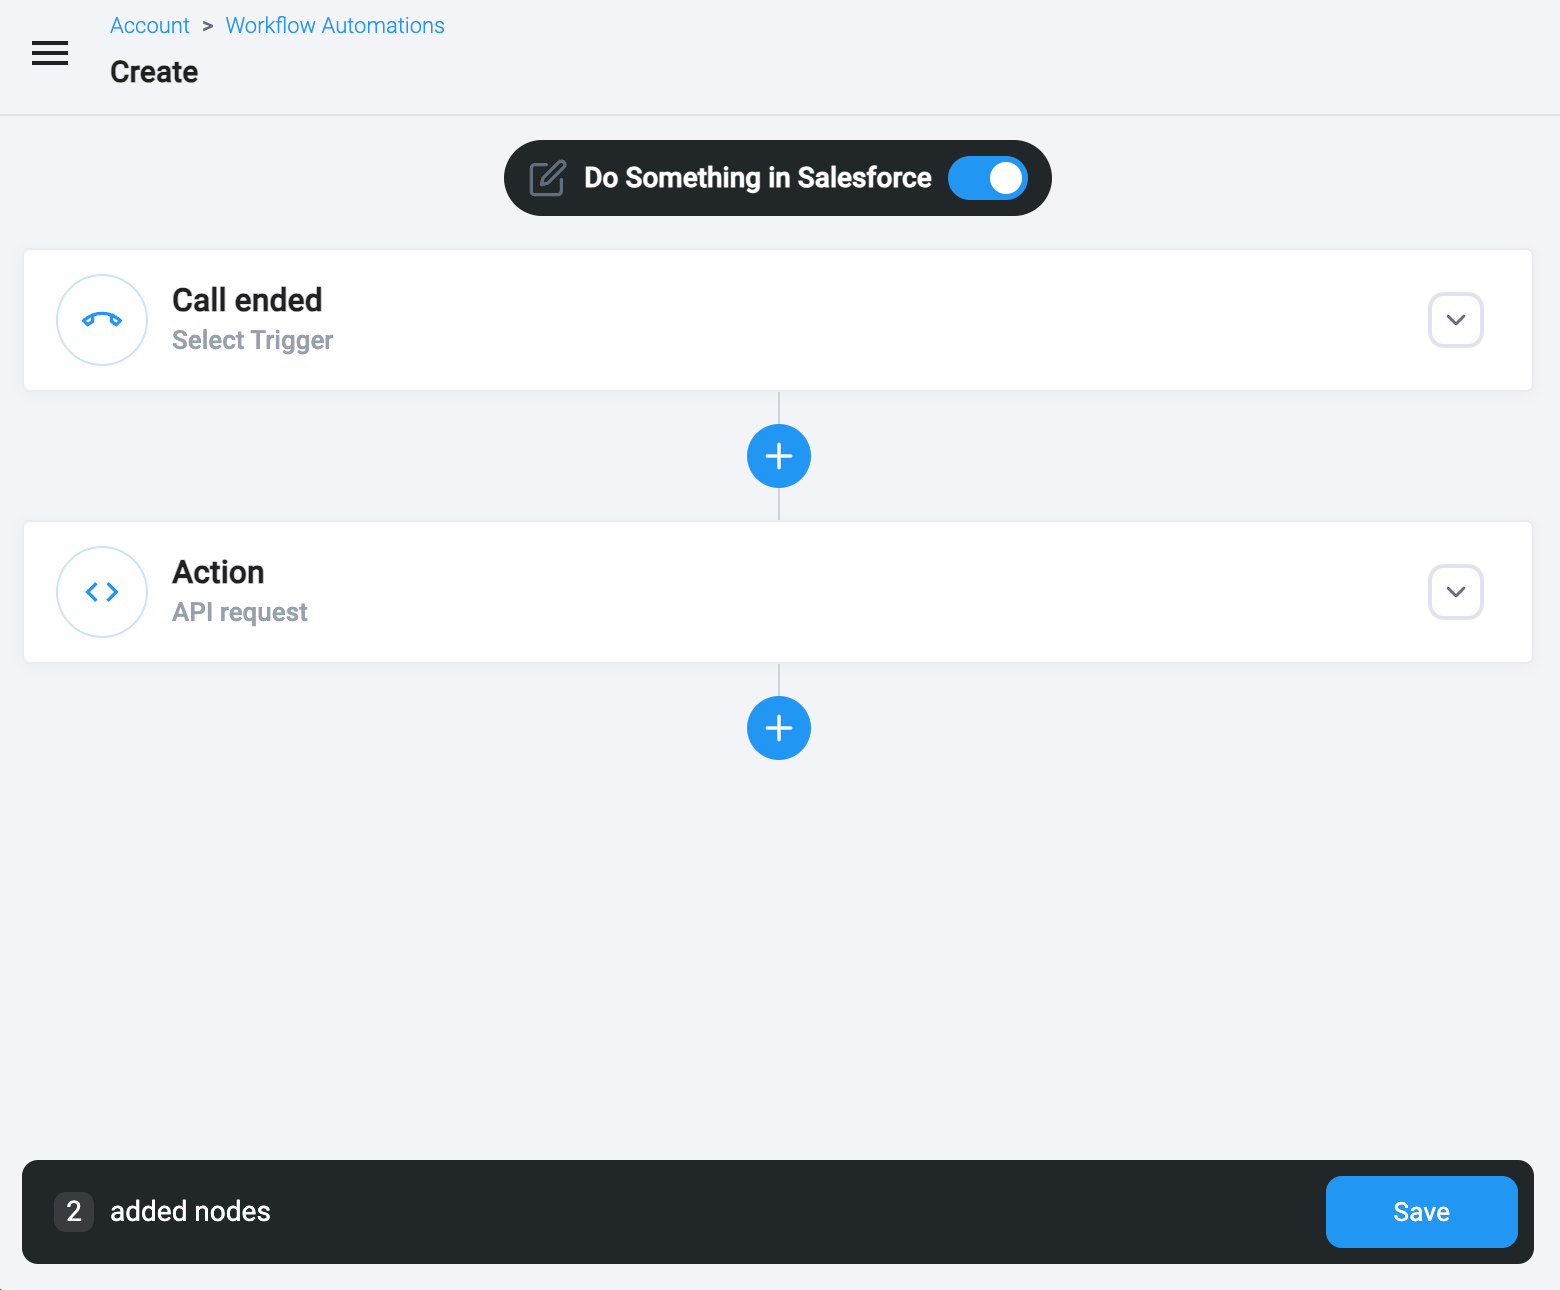
6. Zet uw workflow met de schuifregelaar op actief en sla uw wijzigingen op met **`Opslaan`**.
*API-configuratie met een dynamische waarde, uitsluitend als voorbeeld*
1. Gebruik de juiste tabel om dynamische waarden in te voeren. Klik in een veld en selecteer de gewenste waarde.
5. **`Bevestigen en doorgaan`**.
6. Zet uw workflow met de schuifregelaar op actief en sla uw wijzigingen op met **`Opslaan`**.
 ***
*Hulp nodig of hebt u een vraag?* Neem gerust contact op via ons [Supportportaal](https://support.cloudtalk.io/hc/en-us/requests/new?ticket_form_id=26305535257884) — wij staan voor u klaar.
## Related topics
- [Workflow automatiseringen configureren](/nl/articles/5450779-configuring-workflow-automations.md)
- [Integratiegids](/nl/articles/10570091-integrations-guide.md)
- [Acties](/nl/articles/5649782-actions.md)
This documentation is built and hosted on [Mintlify](https://mintlify.com), a developer documentation platform.
***
*Hulp nodig of hebt u een vraag?* Neem gerust contact op via ons [Supportportaal](https://support.cloudtalk.io/hc/en-us/requests/new?ticket_form_id=26305535257884) — wij staan voor u klaar.
## Related topics
- [Workflow automatiseringen configureren](/nl/articles/5450779-configuring-workflow-automations.md)
- [Integratiegids](/nl/articles/10570091-integrations-guide.md)
- [Acties](/nl/articles/5649782-actions.md)
This documentation is built and hosted on [Mintlify](https://mintlify.com), a developer documentation platform.