> ## Documentation Index
> Fetch the complete documentation index at: https://help.cloudtalk.io/llms.txt
> Use this file to discover all available pages before exploring further.
# Playvox configureren
> Configureer de gegevensuitwisseling tussen CloudTalk en Playvox, zodat uw gegevens up-to-date blijven.
In dit artikel leert u hoe u de Playvox-integratie met CloudTalk instelt, inclusief het genereren van authenticatietokens, het koppelen van uw accounts, het configureren van de instellingen voor gegevensexport en het bepalen welke gesprekken worden gesynchroniseerd.
**Gebruikersniveau:** Admin
***
Vereisten
* Essential-, Expert- of Custom CloudTalk-abonnement
* Playvox-beheerder
* Het e-mailadres dat u in CloudTalk gebruikt, moet exact overeenkomen met het e-mailadres van uw Playvox-account. Als de e-mailadressen niet overeenkomen, werkt de synchronisatie niet correct.
Playvox configureren
Token toevoegen in Playvox
1. Log in op uw Playvox-beheerdersaccount.
2. Ga naar **Manage Organization** (rechtsboven) > **Integrations** > **OAuth Tokens** > **Add New**.
3. In het pop-upvenster voor het toevoegen van een nieuw token vult u het volgende in:
1. **client identifier**
2. **description**
3. **token duration**
4. **client secret key**
4. Houd de **client identifier** en de **secret key** bij, zodat u deze later kunt plakken in uw CloudTalk-dashboard.
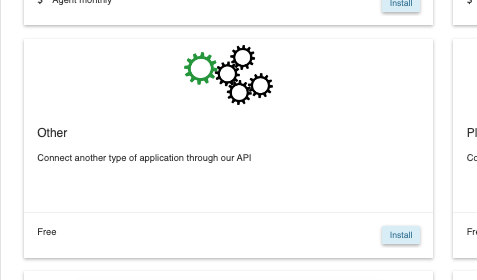
5. Selecteer vanuit **Manage Organization** > **Integrations** > **Add New > Other** de optie **Install**.
 6. Voer een integratie-ID in (bijvoorbeeld `cloudtalk_1`), gevolgd door een beschrijving.
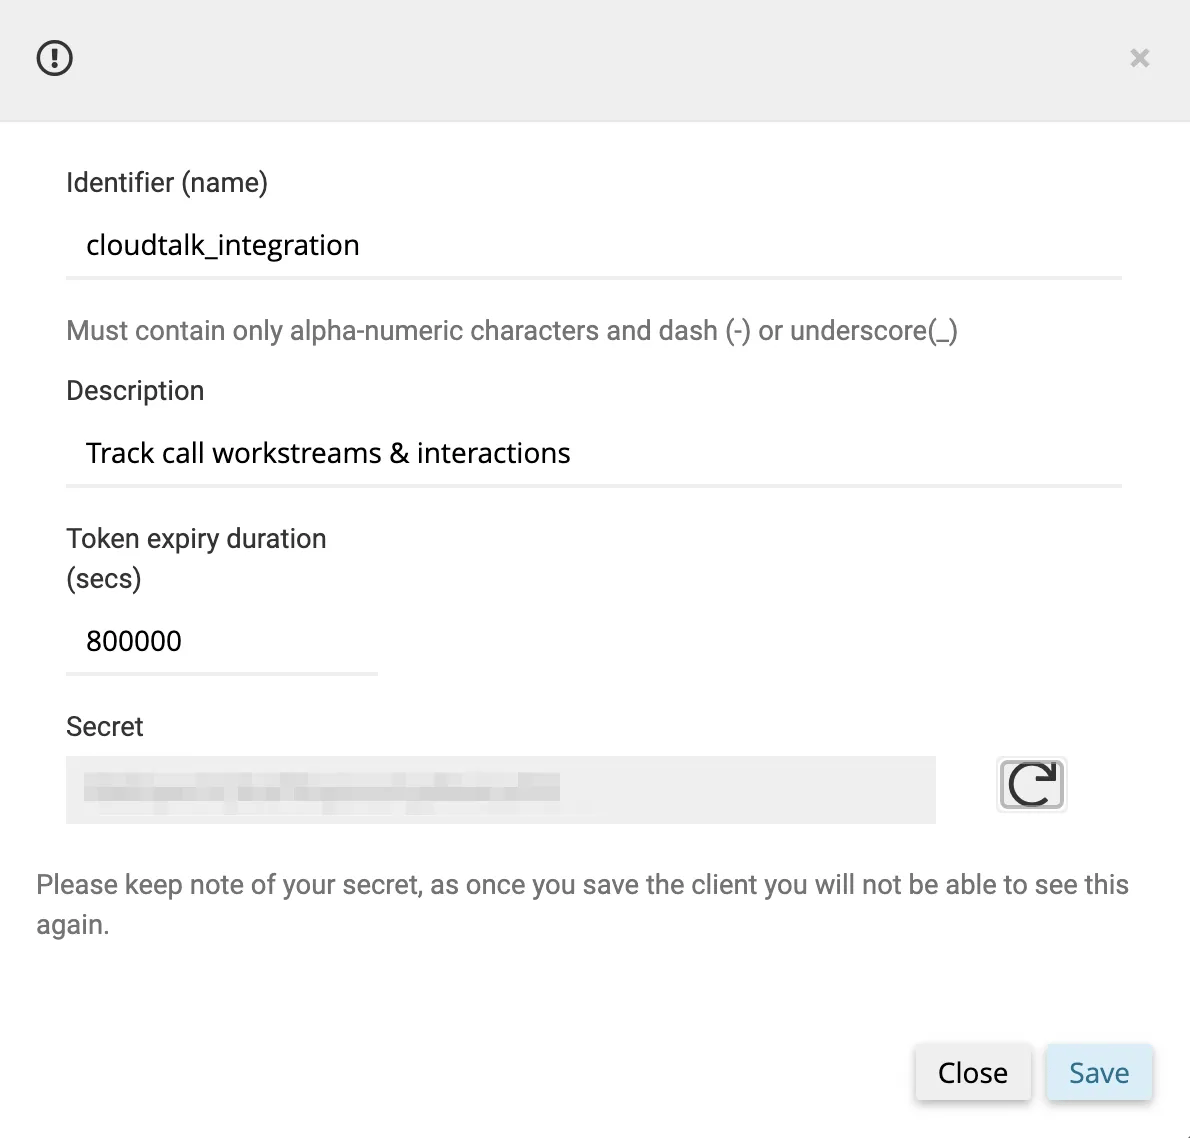 7. **Save**.
Playvox activeren in CloudTalk
1. Log in op uw CloudTalk [Dashboard](https://dashboard.cloudtalk.io/login).
2. Ga naar **Account** > **Integraties**.
3. Zoek in de sectie **Integratie toevoegen** naar **Playvox** en klik op `+ Toevoegen`.
4. Voer uw **Playvox-installatie-URL**, **Playvox-clientidentificatie,** en **Geheim** **Sleutel** in.
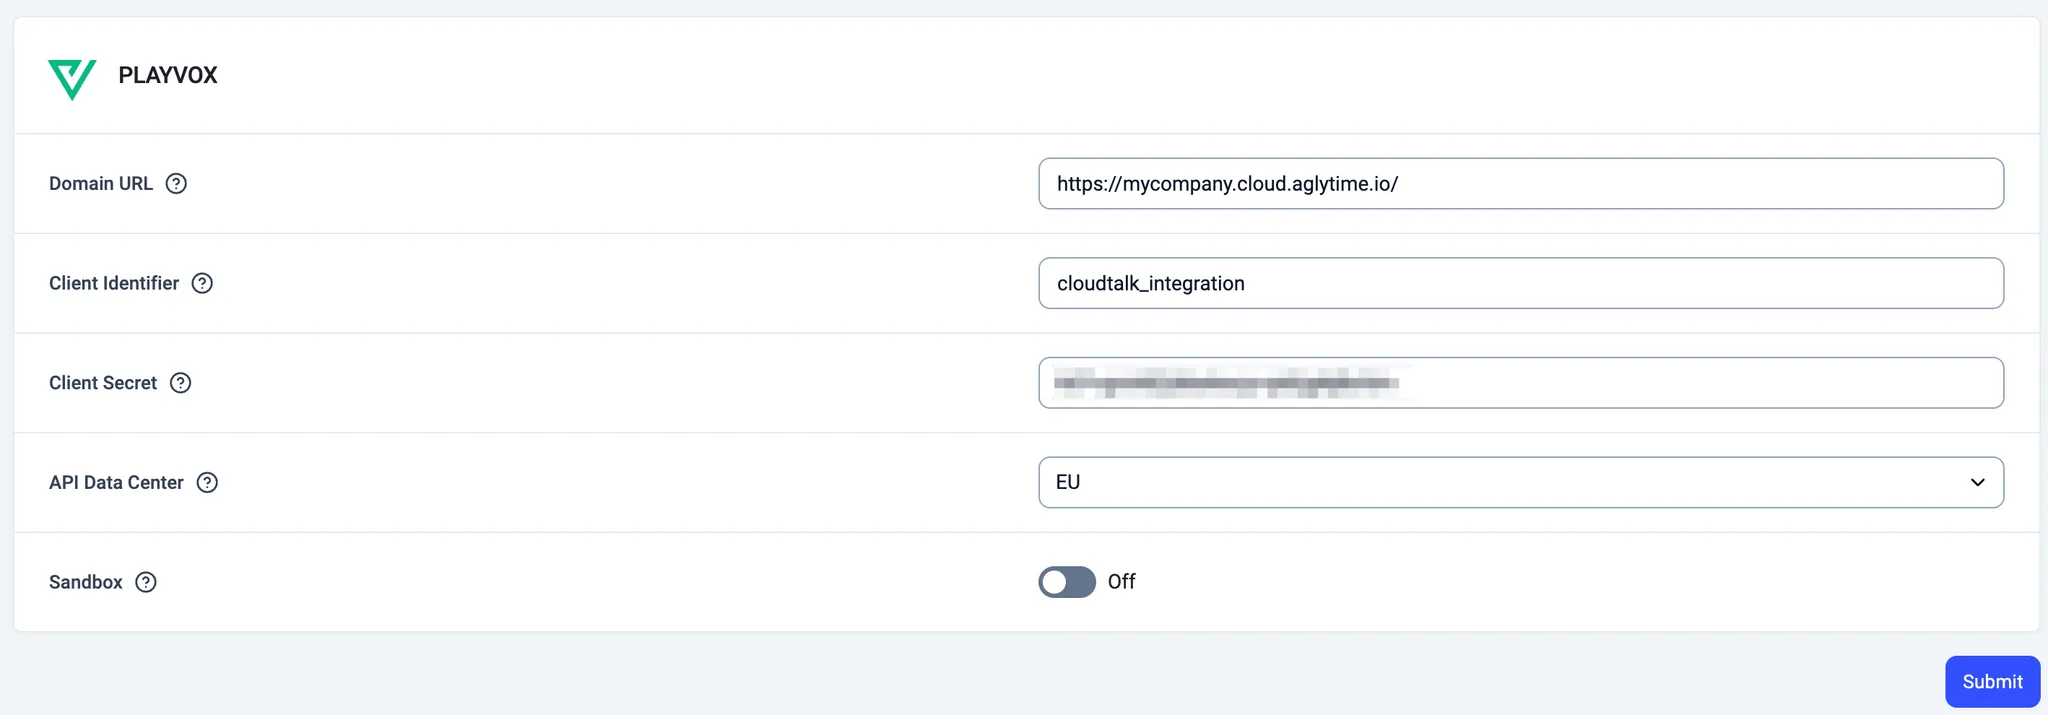 5. **Indienen**.
6. Bevestig ten slotte dat de volgende velden zijn ingevuld:
1. **Naam -** *Dit is de naam voor uw integratie.*
5. **Indienen**.
6. Bevestig ten slotte dat de volgende velden zijn ingevuld:
1. **Naam -** *Dit is de naam voor uw integratie.*
 2. **Workflow-instellingen** moeten allemaal op **Aan** staan. U kunt ervoor kiezen om inkomende en uitgaande oproepen te exporteren. Gemiste inkomende oproepen en voicemailoproepen kunnen momenteel niet worden geëxporteerd.
 3. Als u alleen oproepen van specifieke CloudTalk-nummers wilt exporteren, voegt u nummers toe in de sectie **Connected** **Numbers**. Als dit veld leeg blijft, worden alle oproepen via alle CloudTalk-nummers geëxporteerd als workstreams volgens de instellingen van stap 6.
 ***
***
Gebruikers toevoegen in Playvox
Playvox kan alleen zinvolle gegevens weergeven als elke CloudTalk-gebruiker aan Playvox is toegevoegd.
Als dit niet gebeurt, wordt in de oproepgegevens een leeg veld weergegeven onder **Agentnaam** en kan de agentactiviteit niet worden getoond.
1\. Ga naar **Manage Organization Cog (top right)** > **Users** > `Add New User`.
2\. Voer de gebruikersgegevens in, zoals **Name, Email, Timezone, Team & Role.**
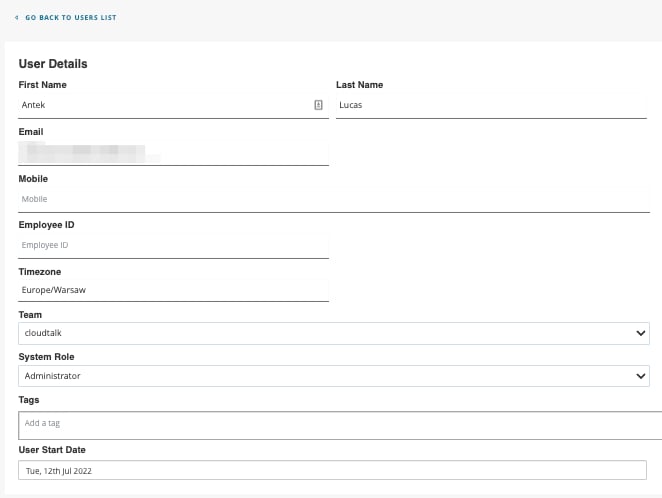 3\. Klik op de knop **Reset Password** om de gebruiker een nieuw wachtwoord per e-mail te sturen.
4\. Selecteer bij Integrations de optie CloudTalk in de vervolgkeuzelijst > `+ Add Integrations.`
3\. Klik op de knop **Reset Password** om de gebruiker een nieuw wachtwoord per e-mail te sturen.
4\. Selecteer bij Integrations de optie CloudTalk in de vervolgkeuzelijst > `+ Add Integrations.`
 5\. Voeg vervolgens de alias voor de gebruiker toe, *d.w\.z.* voornaam + achternaam
 6\. Klik ten slotte op de knop **Save Integrations** (rechtsboven). Dit is erg belangrijk, want als er geen alias is ingesteld voor de gebruiker, worden de geëxporteerde oproepgegevens niet getoond.
***
6\. Klik ten slotte op de knop **Save Integrations** (rechtsboven). Dit is erg belangrijk, want als er geen alias is ingesteld voor de gebruiker, worden de geëxporteerde oproepgegevens niet getoond.
***
Integratie loskoppelen of verwijderen
Als u de integratie niet langer wilt gebruiken, hebt u twee opties:
* **Deactiveren:** Ga in uw CloudTalk Dashboard naar **Account > Integraties > Playvox** en zet de status op inactief. Hiermee wordt de synchronisatie gepauzeerd, maar blijven uw instellingen behouden.
- **Verwijderen:** Als u de integratie volledig wilt verwijderen, gaat u naar **Configureren > Integratie verwijderen**, typt u **DELETE** en bevestigt u dit.
***
*Hulp nodig of een vraag?* Neem gewoon contact op via ons [Supportportal](https://support.cloudtalk.io/hc/en-us/requests/new?ticket_form_id=26305535257884) — we staan voor u klaar.
## Related topics
- [CloudTalk gebruiken met Playvox](/nl/articles/6382662-using-cloudtalk-with-playvox.md)
- [Salesforce configureren](/nl/articles/3368501-configure-salesforce.md)
- [Greenhouse configureren](/nl/articles/11937842-configure-greenhouse.md)
This documentation is built and hosted on [Mintlify](https://mintlify.com), a developer documentation platform.