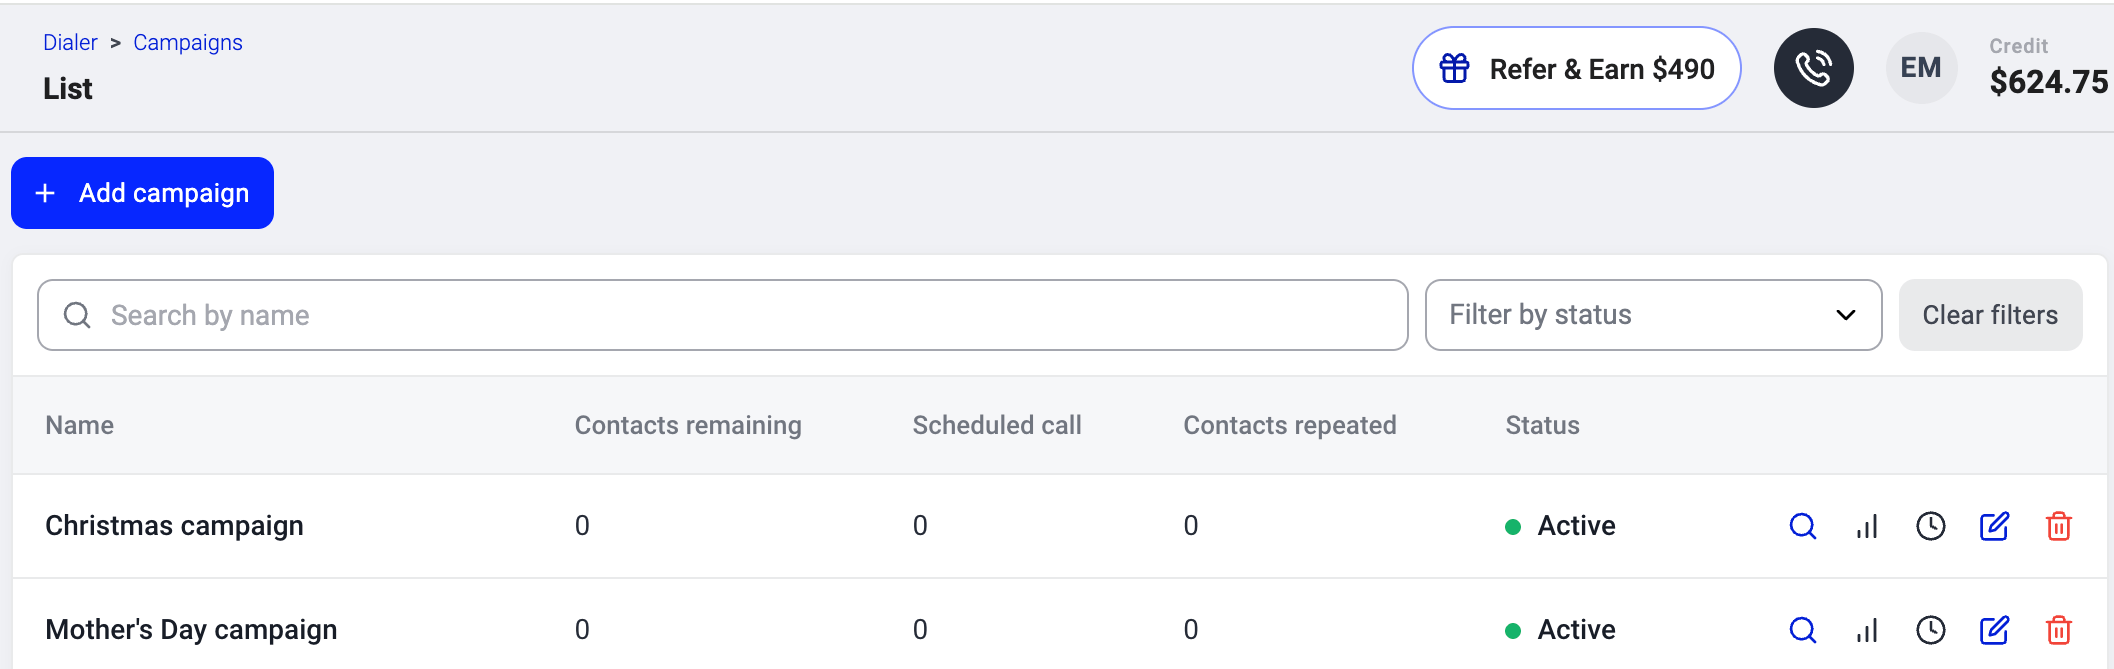
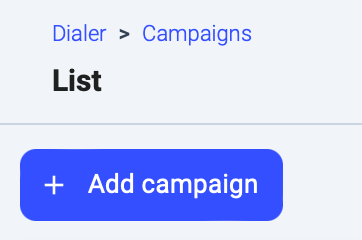
 2. *(Optional)* To speed things up, you can **Load Existing** campaign settings (see [Load Existing](#:~:text=Create%20campaign.-,Load%20Existing,-When%20adding%20a)).
3. Enter a **Name** for your campaign.
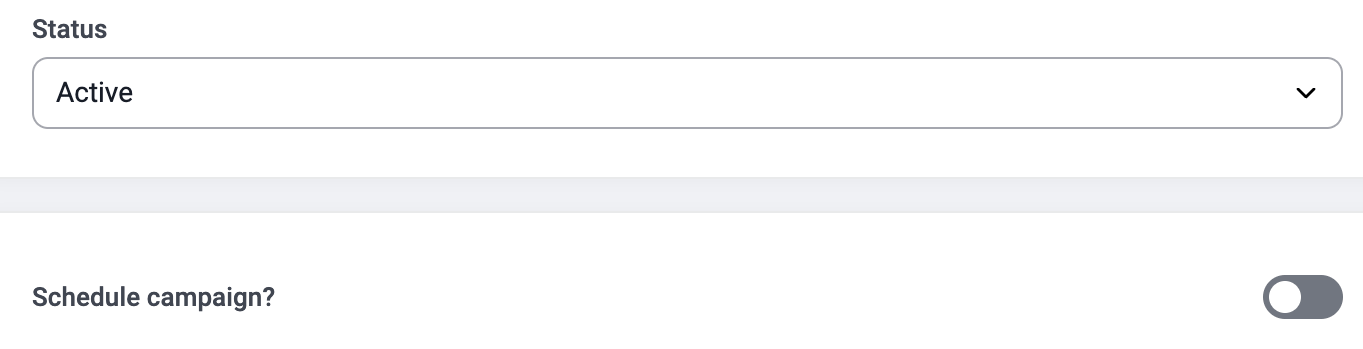
4. Set the **Status:**
* **Active:** campaign is visible to assigned agents immediately.
* **Inactive:** campaign is hidden until you activate it.
* **Scheduled:** toggle on **Schedule campaign** to set a start date and time. Agents can see the campaign but cannot start calling until the scheduled time.
2. *(Optional)* To speed things up, you can **Load Existing** campaign settings (see [Load Existing](#:~:text=Create%20campaign.-,Load%20Existing,-When%20adding%20a)).
3. Enter a **Name** for your campaign.
4. Set the **Status:**
* **Active:** campaign is visible to assigned agents immediately.
* **Inactive:** campaign is hidden until you activate it.
* **Scheduled:** toggle on **Schedule campaign** to set a start date and time. Agents can see the campaign but cannot start calling until the scheduled time.
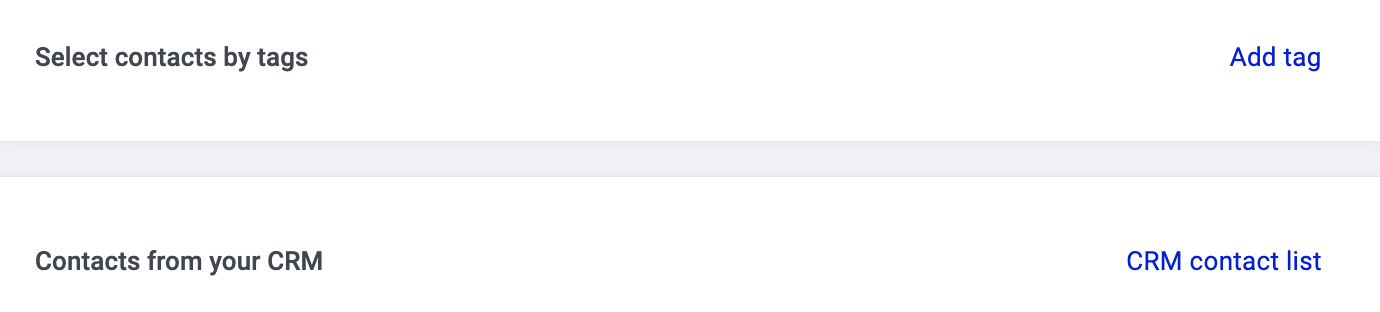
 5. Define your **audience.** Choose one or both methods:
* **Select contacts by tags:** all contacts carrying the selected tag(s) are added to the calling list. If you select multiple tags, any contact with at least one of those tags is included. Contacts matching more tags are prioritised.
* **Contacts from your CRM:** If an integration supporting contact lists is active, select the CRM contact list containing your desired audience. Learn more about importing audience from:
1. [HubSpot](/en/articles/9562215-using-hubspot-with-campaign-dialers#h_62c0342c0a)
2. [Salesforce](/en/articles/9170735-salesforce-contact-lists-in-campaigns)
3. [Zoho CRM](/en/articles/11503460-using-zoho-crm-with-campaign-dialers#h_363fb6587d)
4. [Pipedrive](/en/articles/11508138-using-pipedrive-with-campaign-dialers)
5. Define your **audience.** Choose one or both methods:
* **Select contacts by tags:** all contacts carrying the selected tag(s) are added to the calling list. If you select multiple tags, any contact with at least one of those tags is included. Contacts matching more tags are prioritised.
* **Contacts from your CRM:** If an integration supporting contact lists is active, select the CRM contact list containing your desired audience. Learn more about importing audience from:
1. [HubSpot](/en/articles/9562215-using-hubspot-with-campaign-dialers#h_62c0342c0a)
2. [Salesforce](/en/articles/9170735-salesforce-contact-lists-in-campaigns)
3. [Zoho CRM](/en/articles/11503460-using-zoho-crm-with-campaign-dialers#h_363fb6587d)
4. [Pipedrive](/en/articles/11508138-using-pipedrive-with-campaign-dialers)
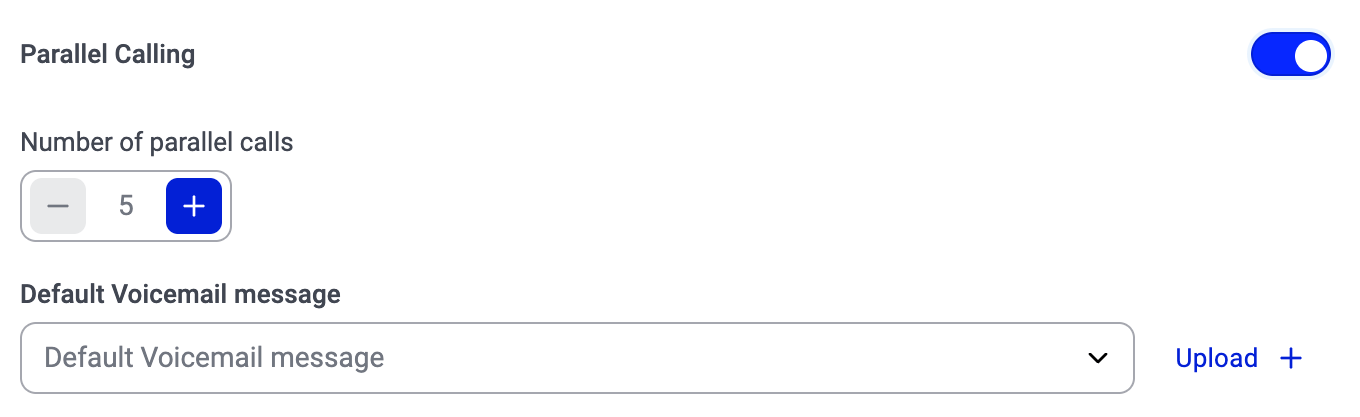
 6. *(Optional)* Enable **[Parallel Calling](/en/articles/17025675-parallel-mode-2-lines)** if you want the dialer to call multiple contacts simultaneously.
⚠️ **Note:** Parallel Calling is a [paid add-on](/en/articles/13130387-understanding-pricing-plans-and-what-they-include#:~:text=pricing%20page.-,Add%2Dons,-CloudTalk%20offers%20additional). If you don't see this toggle, contact your Customer Success Manager to enable it.
When turned on, set:
* **Number of parallel calls:** how many contacts the dialer calls at the same time.
* **Default voicemail message:** the recording played when a voicemail is detected.
If left off, the campaign runs [sequentially](/en/articles/17025671-sequential-mode-1-line), one contact at a time.
6. *(Optional)* Enable **[Parallel Calling](/en/articles/17025675-parallel-mode-2-lines)** if you want the dialer to call multiple contacts simultaneously.
⚠️ **Note:** Parallel Calling is a [paid add-on](/en/articles/13130387-understanding-pricing-plans-and-what-they-include#:~:text=pricing%20page.-,Add%2Dons,-CloudTalk%20offers%20additional). If you don't see this toggle, contact your Customer Success Manager to enable it.
When turned on, set:
* **Number of parallel calls:** how many contacts the dialer calls at the same time.
* **Default voicemail message:** the recording played when a voicemail is detected.
If left off, the campaign runs [sequentially](/en/articles/17025671-sequential-mode-1-line), one contact at a time.
 7. Configure the remaining **campaign settings** (see [Campaign settings reference](#:~:text=Create%20Campaign.-,Campaign%20settings%20reference,-Setting) below).
8. Assign the campaign to one or more **groups** or **users**. Campaigns without assigned users or groups will not appear in the calling apps.
7. Configure the remaining **campaign settings** (see [Campaign settings reference](#:~:text=Create%20Campaign.-,Campaign%20settings%20reference,-Setting) below).
8. Assign the campaign to one or more **groups** or **users**. Campaigns without assigned users or groups will not appear in the calling apps.
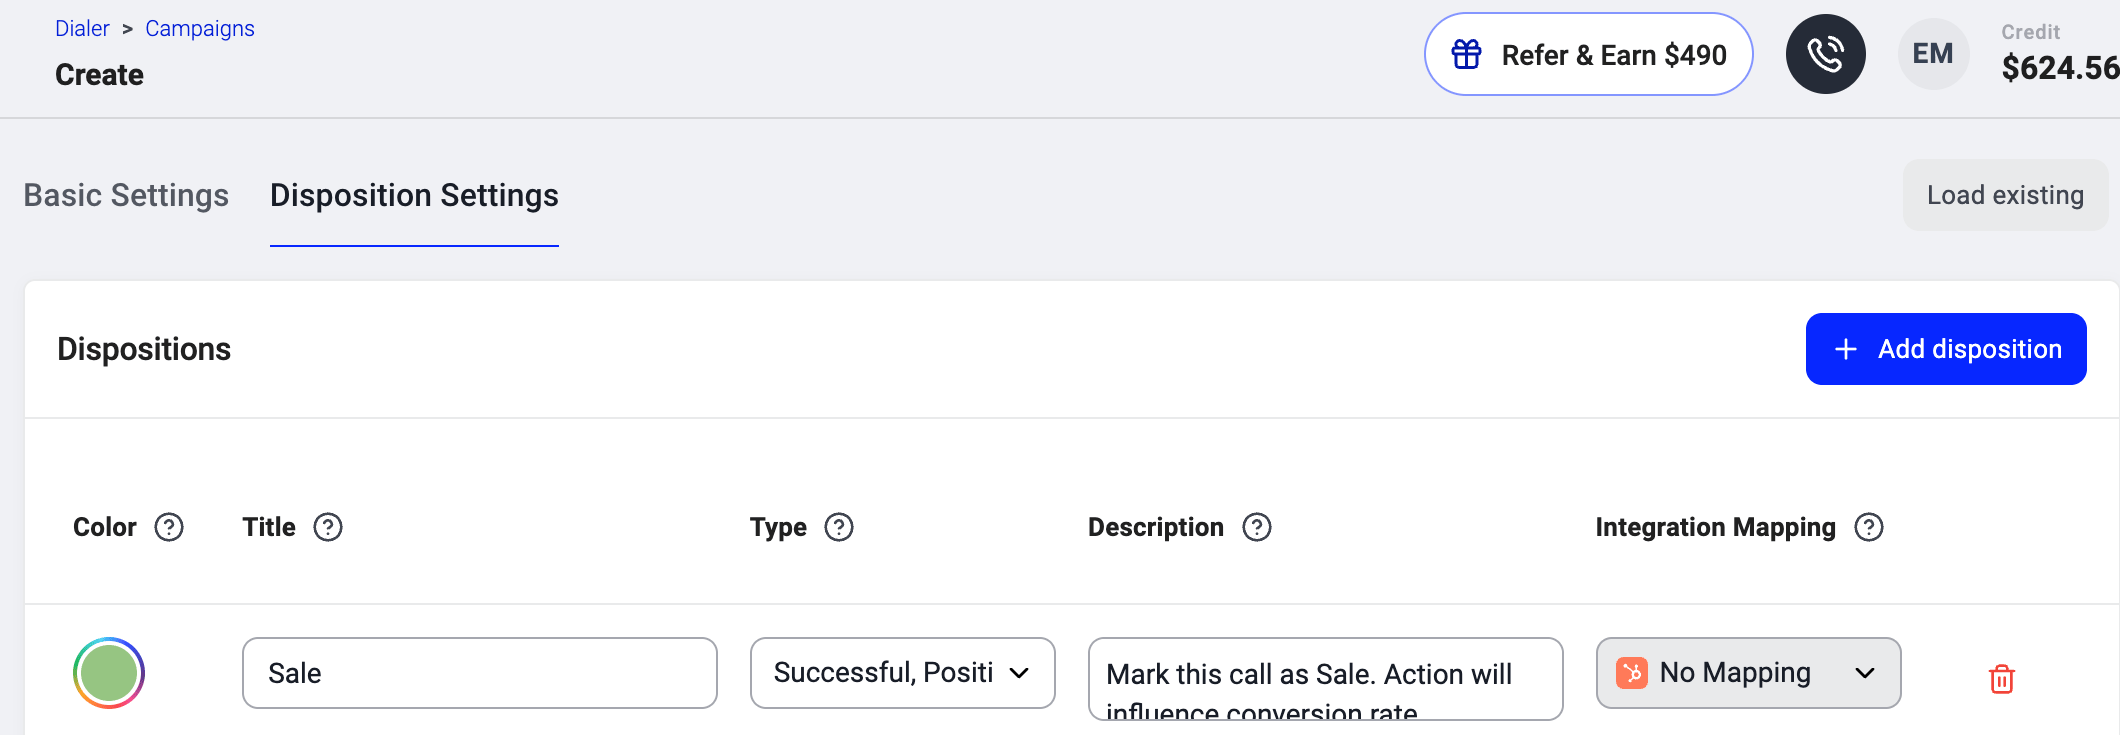
 9. Go to the **Disposition Settings** tab and configure your call result buttons (see [Disposition settings](#disposition-settings) below.
10. When done, select **`Create campaign`**.
9. Go to the **Disposition Settings** tab and configure your call result buttons (see [Disposition settings](#disposition-settings) below.
10. When done, select **`Create campaign`**.
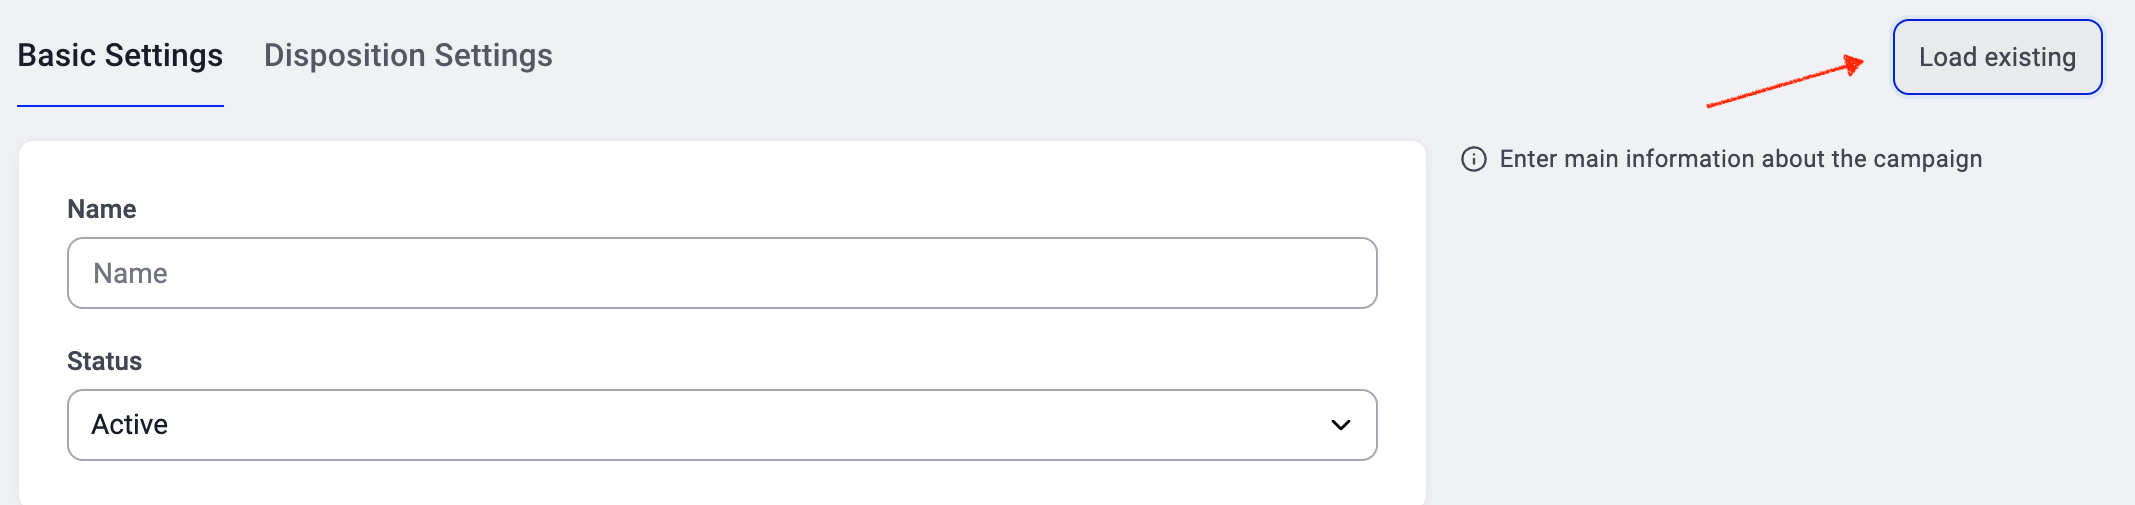 3. Start typing and choose a previous campaign from the list.
* The new campaign will copy the settings from the selected one.
* The **Name** will default to the original with an ascending number (e.g., *Christmas Campaign* → *Christmas Campaign 2* → *Christmas Campaign 3*).
3. Start typing and choose a previous campaign from the list.
* The new campaign will copy the settings from the selected one.
* The **Name** will default to the original with an ascending number (e.g., *Christmas Campaign* → *Christmas Campaign 2* → *Christmas Campaign 3*).
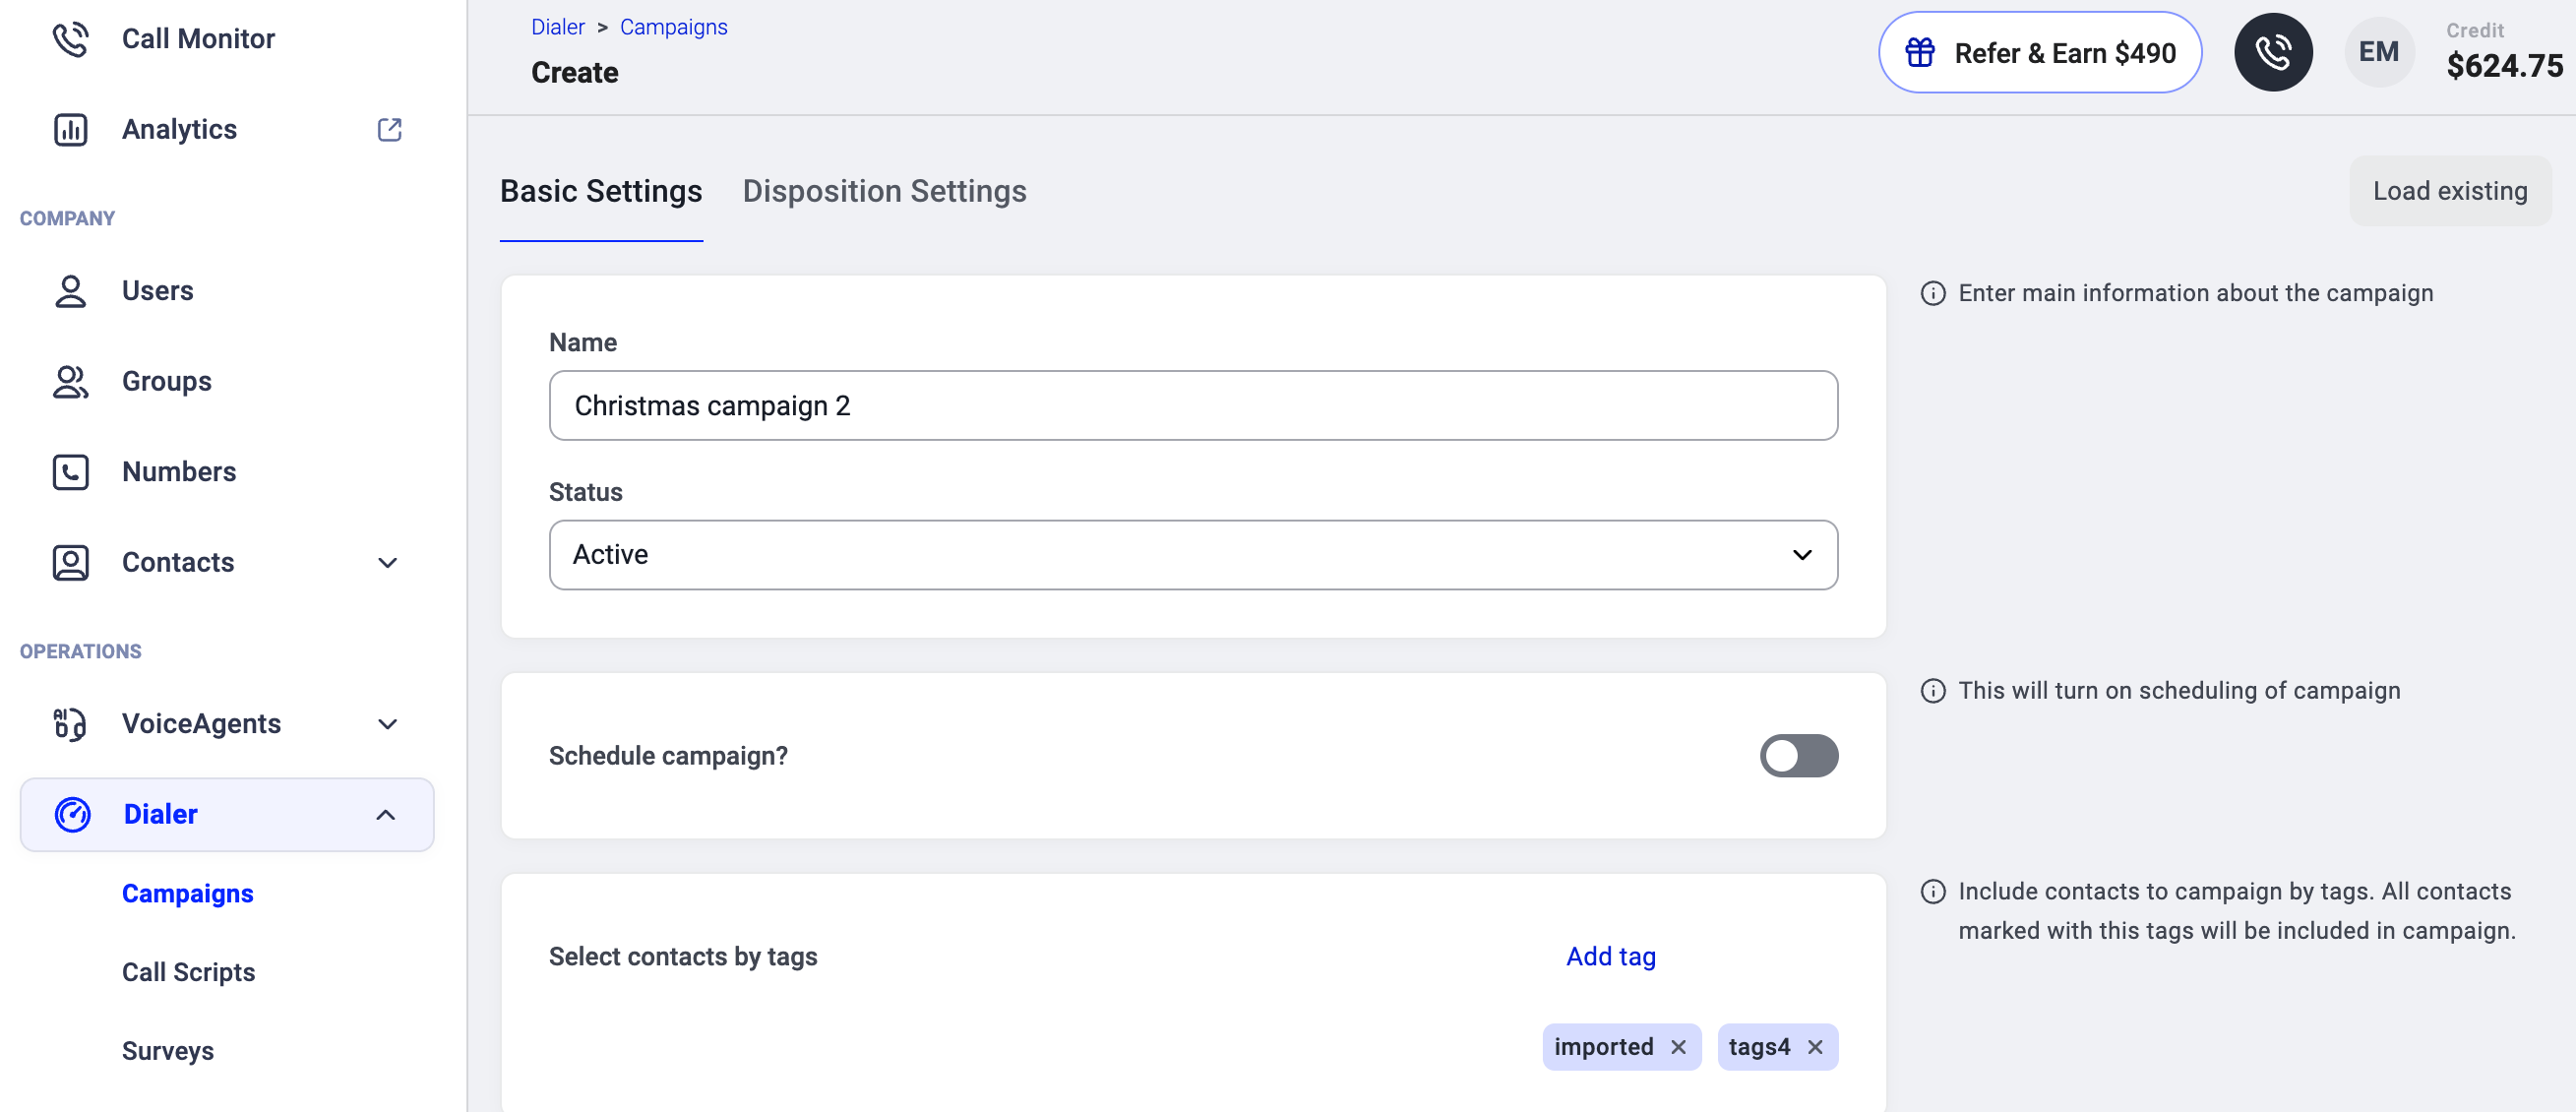 4. Review and adjust the campaign settings as needed.
* Double-check **scheduled times** and **tags**.
* ⚠️ If you reuse the same tag, any contacts still carrying that tag will be re-added to the new campaign unless you manually untag them.
5. When finished, click **`Create Campaign`**.
4. Review and adjust the campaign settings as needed.
* Double-check **scheduled times** and **tags**.
* ⚠️ If you reuse the same tag, any contacts still carrying that tag will be re-added to the new campaign unless you manually untag them.
5. When finished, click **`Create Campaign`**.
| **Setting** | **Description** |
| **Status** | Choose between **Active**, **Inactive**, or **Scheduled** (for campaigns with a defined start date/time). |
| **Select Contacts by Tags** | Contacts with the chosen tag(s) are added to the campaign list. * Tags must already [exist on contacts](/en/articles/5440393-contact-tags#h_09097a6ba6) to be searchable. * Tags are **not** auto-removed after a completed campaign. |
| **Contacts from your CRM** | If you have an active CRM integration, select a contact list directly from your CRM. |
| **Parallel Calling** (*add-on*) | When turned on, the dialer calls multiple contacts simultaneously and connects the agent to the first one who answers. Set the number of parallel calls and a default voicemail message. |
| **Attempts per Contact** | Number of times a missed contact will be re-added to the campaign calling list. |
| **Hours between attempts** | Minimum time in hours before the dialer retries an unanswered contact. |
| **Answer wait time (in seconds)** | Maximum number of seconds the system will wait for a contact to answer before ending the attempt. |
| **Automatically dial next contact after a call ends** | Off by default. When turned on, the next contact is dialled automatically after a call ends. Set the **After call time (in seconds)** to give agents a buffer between calls for wrap-up. |
| **Calls recording** | Off by default. When turned on, all calls in the campaign are recorded automatically. Recordings can be reviewed in the call history logs. |
| **Outbound Caller ID** | Controls which number is shown to contacts when they receive the call. Options: * **Automatic** uses the same default number every time, typically the first available number matching the contact's country prefix. * **Random** (Smart Rotation) uses each assigned number only once per contact before repeating, cycling through all available numbers that match the destination country's prefix. Once all matching numbers have been used, the rotation resets and a number is selected at random. If no country match is available, a number is selected at random from all assigned numbers. * **Use outbound caller ID assigned to agent** uses whichever number is set as the default for each individual agent. * You can also select a specific number from your account directly. |
| **Assign Call Script** *(visible with **Power Dialer** add-on)* | Attach a script for agents to follow during calls. See [Call scripts](/en/articles/15101461-call-scripts-legacy-dialer) for instructions on creating one. |
| **Assign Survey** (*visible with **Power Dialer** add-on*) | Attach a survey for agents to fill in during calls. See [Surveys](/en/articles/15103961-surveys-legacy-dialer) for instructions on creating one. |
| **Assigned Groups** | Select one or more agent groups to participate in this campaign. All agents in the group will have access. ⚠️ You must assign at least one group **or** user for the campaign to run. **Note:** Agents who gain access through a group will not appear in the Assigned Users list. The list only shows agents added directly. Both group-based and directly assigned agents have full campaign access. |
| **Assigned Users** | If no groups are selected, assign one or more individual agents to the campaign. |
| **Give agents queue controls** (*visible with* ***AI Sales Dialer*** *add-on*) | Off by default. When turned on, agents can modify their personal dialing queue during a session: * **Skip contacts** - agent can skip a contact and move to the next one. * **Reorder contacts** - agent can change the order of contacts in their queue. * **Remove contacts** - agent can remove a contact from their queue entirely. For more details, see [Managing Contacts in the Queue](/en/articles/11550309-using-campaigns-with-cloudtalk-dialer-legacy#:~:text=for%20other%20agents.-,Managing%20Contacts%20in%20the%20Queue,-Queue%20management%20features)**.** |
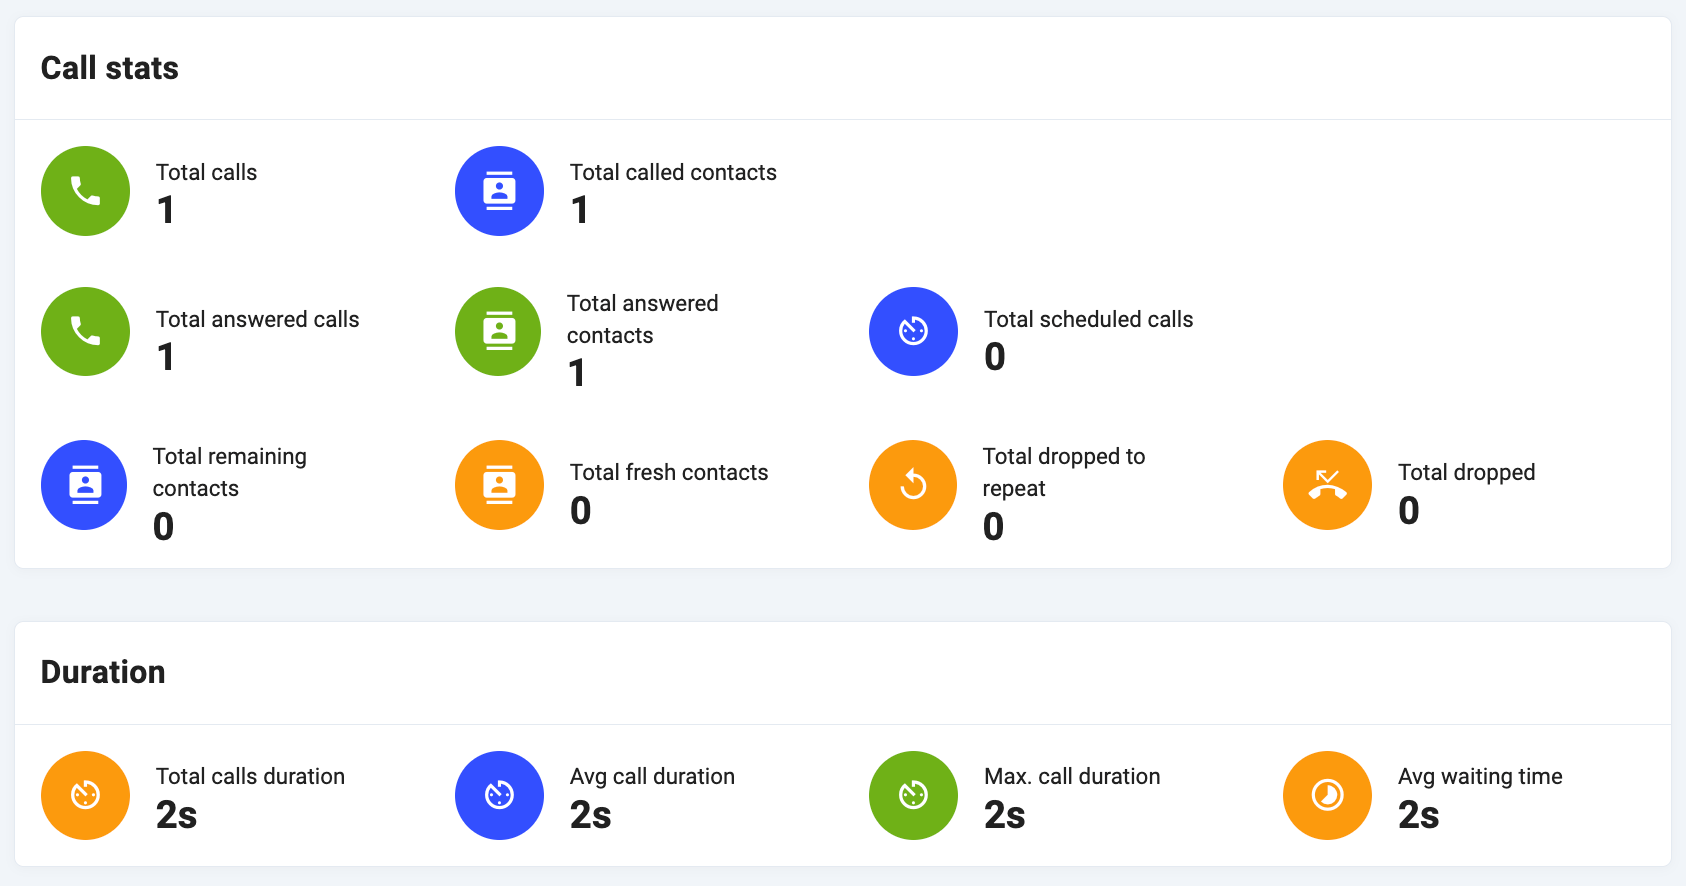
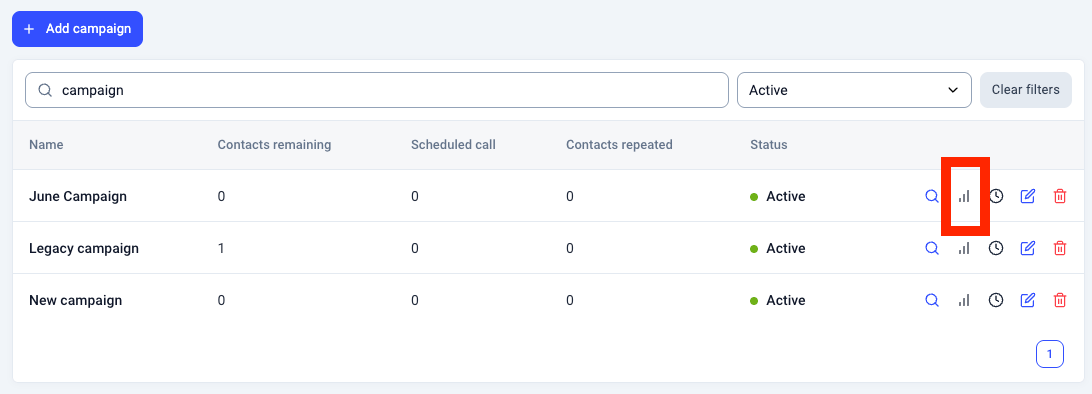 The **Statistics tab** for your campaign will then be displayed. Right at the top, **General Metrics** provide an overview, including things like your conversion rates, how many calls were dropped, and the total number of contacts in your audience.
 Next, dive into **Sales Stats** to see the breakdown of sales-related outcomes. These are calculated based on the disposition types you've set:
* **Sale and Interested:** reflects calls marked with a *"Successful, Positive Outcome"* disposition type.
* **Not interested:** reflects calls marked with a "*Successful, Negative Outcome"* disposition type.
* **Do not call:** reflects calls marked with a "*Failed, No Retry*" disposition type.
Next, dive into **Sales Stats** to see the breakdown of sales-related outcomes. These are calculated based on the disposition types you've set:
* **Sale and Interested:** reflects calls marked with a *"Successful, Positive Outcome"* disposition type.
* **Not interested:** reflects calls marked with a "*Successful, Negative Outcome"* disposition type.
* **Do not call:** reflects calls marked with a "*Failed, No Retry*" disposition type.

 Finally, the **Call History Logs** provide a detailed list of every call made through the campaign. Here, supervisors and administrators can easily review call data, listen to recordings, and even request the full call log history sent to their email in a CSV format for more in-depth analysis.